This week we had to make an enclosure for a physical computing project. In other words, an interactive box that could contain electrical components.
While exploring the junk shelf, I found this speaker shell and it felt like fate. There are two sides that can be pulled apart making it a perfect enclosure because you can adjust the contents. I knew I wanted to use different colored LED bulbs, which could fit perfectly where the volume, treble, and bass dials used to go. My arduino kit came with an ultrasonic sensor, which kind of looks like two eyes, and thus I knew this would be a speaker no more, a robot was born.


Making a plan:
First thing I did was clean up the speakers and start figuring out where the components could go. There are certainly more buttons and dials I could add, but since I want bubble to work, I focused mainly on finding the best place for the ultrasonic sensor. I had to remove the middle peg at the top (pictured left, above) so that it would fit. The exisiting square cut out appeared to be a good place for an Arduino USB port (though I would have to make some adjustments/widen this hole). I also had to purchase smaller breadboards that could fit inside it.

I find it helpful to make to do lists to organize my thoughts. This became a sort of living document as I would respond to each task with what can I do at home, what tools in the shop do I need, where do I get parts, etc.
Laser cutting discs:
I had bought semi translucent acrylic for my laser cutting project, but didn’t end up using it. Since the LEDs look very small in the dial holes, I thought it would be sleeker to cover them up and have light shine through the acrylic. I knew the laser cutter would best accomplish this task. To get perfectly sized circles, I scanned the speaker directly, used illustrator to trace over the holes in the scanned image, and then laser cut the acrylic.

Quick test on cardboard.


The circle discs came out great. Not exactly sure how to seal them in there…maybe glue?
Drilling holes for the ultrasonic sensor:
Drilling was what I thought would be the easiest part of the whole project, but it took 5EVER. It was really hard to figure out how to place the holes and even more difficult setting it up so the drill press would actually go through the material. The drill bit I used was super short, and I had to stack the speaker onto of wood, and drill through the front side…which originally was harder to trace the sensor circles onto. Major thanks to John, because without him I wouldn’t have been able to get the proper size drill bit: the elusive and specific 5/8”. He also helped me drill out the circles even more when they didn’t quite fit the ultrasonic sensor.

Initial small drill for test hole. Needed to change the set up dramatically when using the 5/8” bit.

Tested 5/8” holes on wood.

Nibbling the Arduino connector port hole:
I say nibbling because that is the tool I initially thought would best help widen the pre existing port hole. However, I don’t think it was quite the right application…I couldn’t find one in the shop anyway. Ultimately, I widened the port hole WITH A FILE. Talk about tedious. This took quite some time, but it was effective. The Arduino was not fitting in as planned, so I became fearful of the robot enclosure actually working out. I filed a few things on the inside down to make room, but it was hard to remove the plastic knobs and elevations on the interior of these shells. I decided to move on to painting it for the look I wanted. Electronics fitting inside would just have to be continued later.
Spray painting:
It was a really hard decision figuring out what color to make the robot. I decided to try this spray paint that’s suppose to give a granite looking effect. I thought that would be a fun way to add texture to the robot and play with the look of different materials. Was kind of expensive…but hoping for the best.

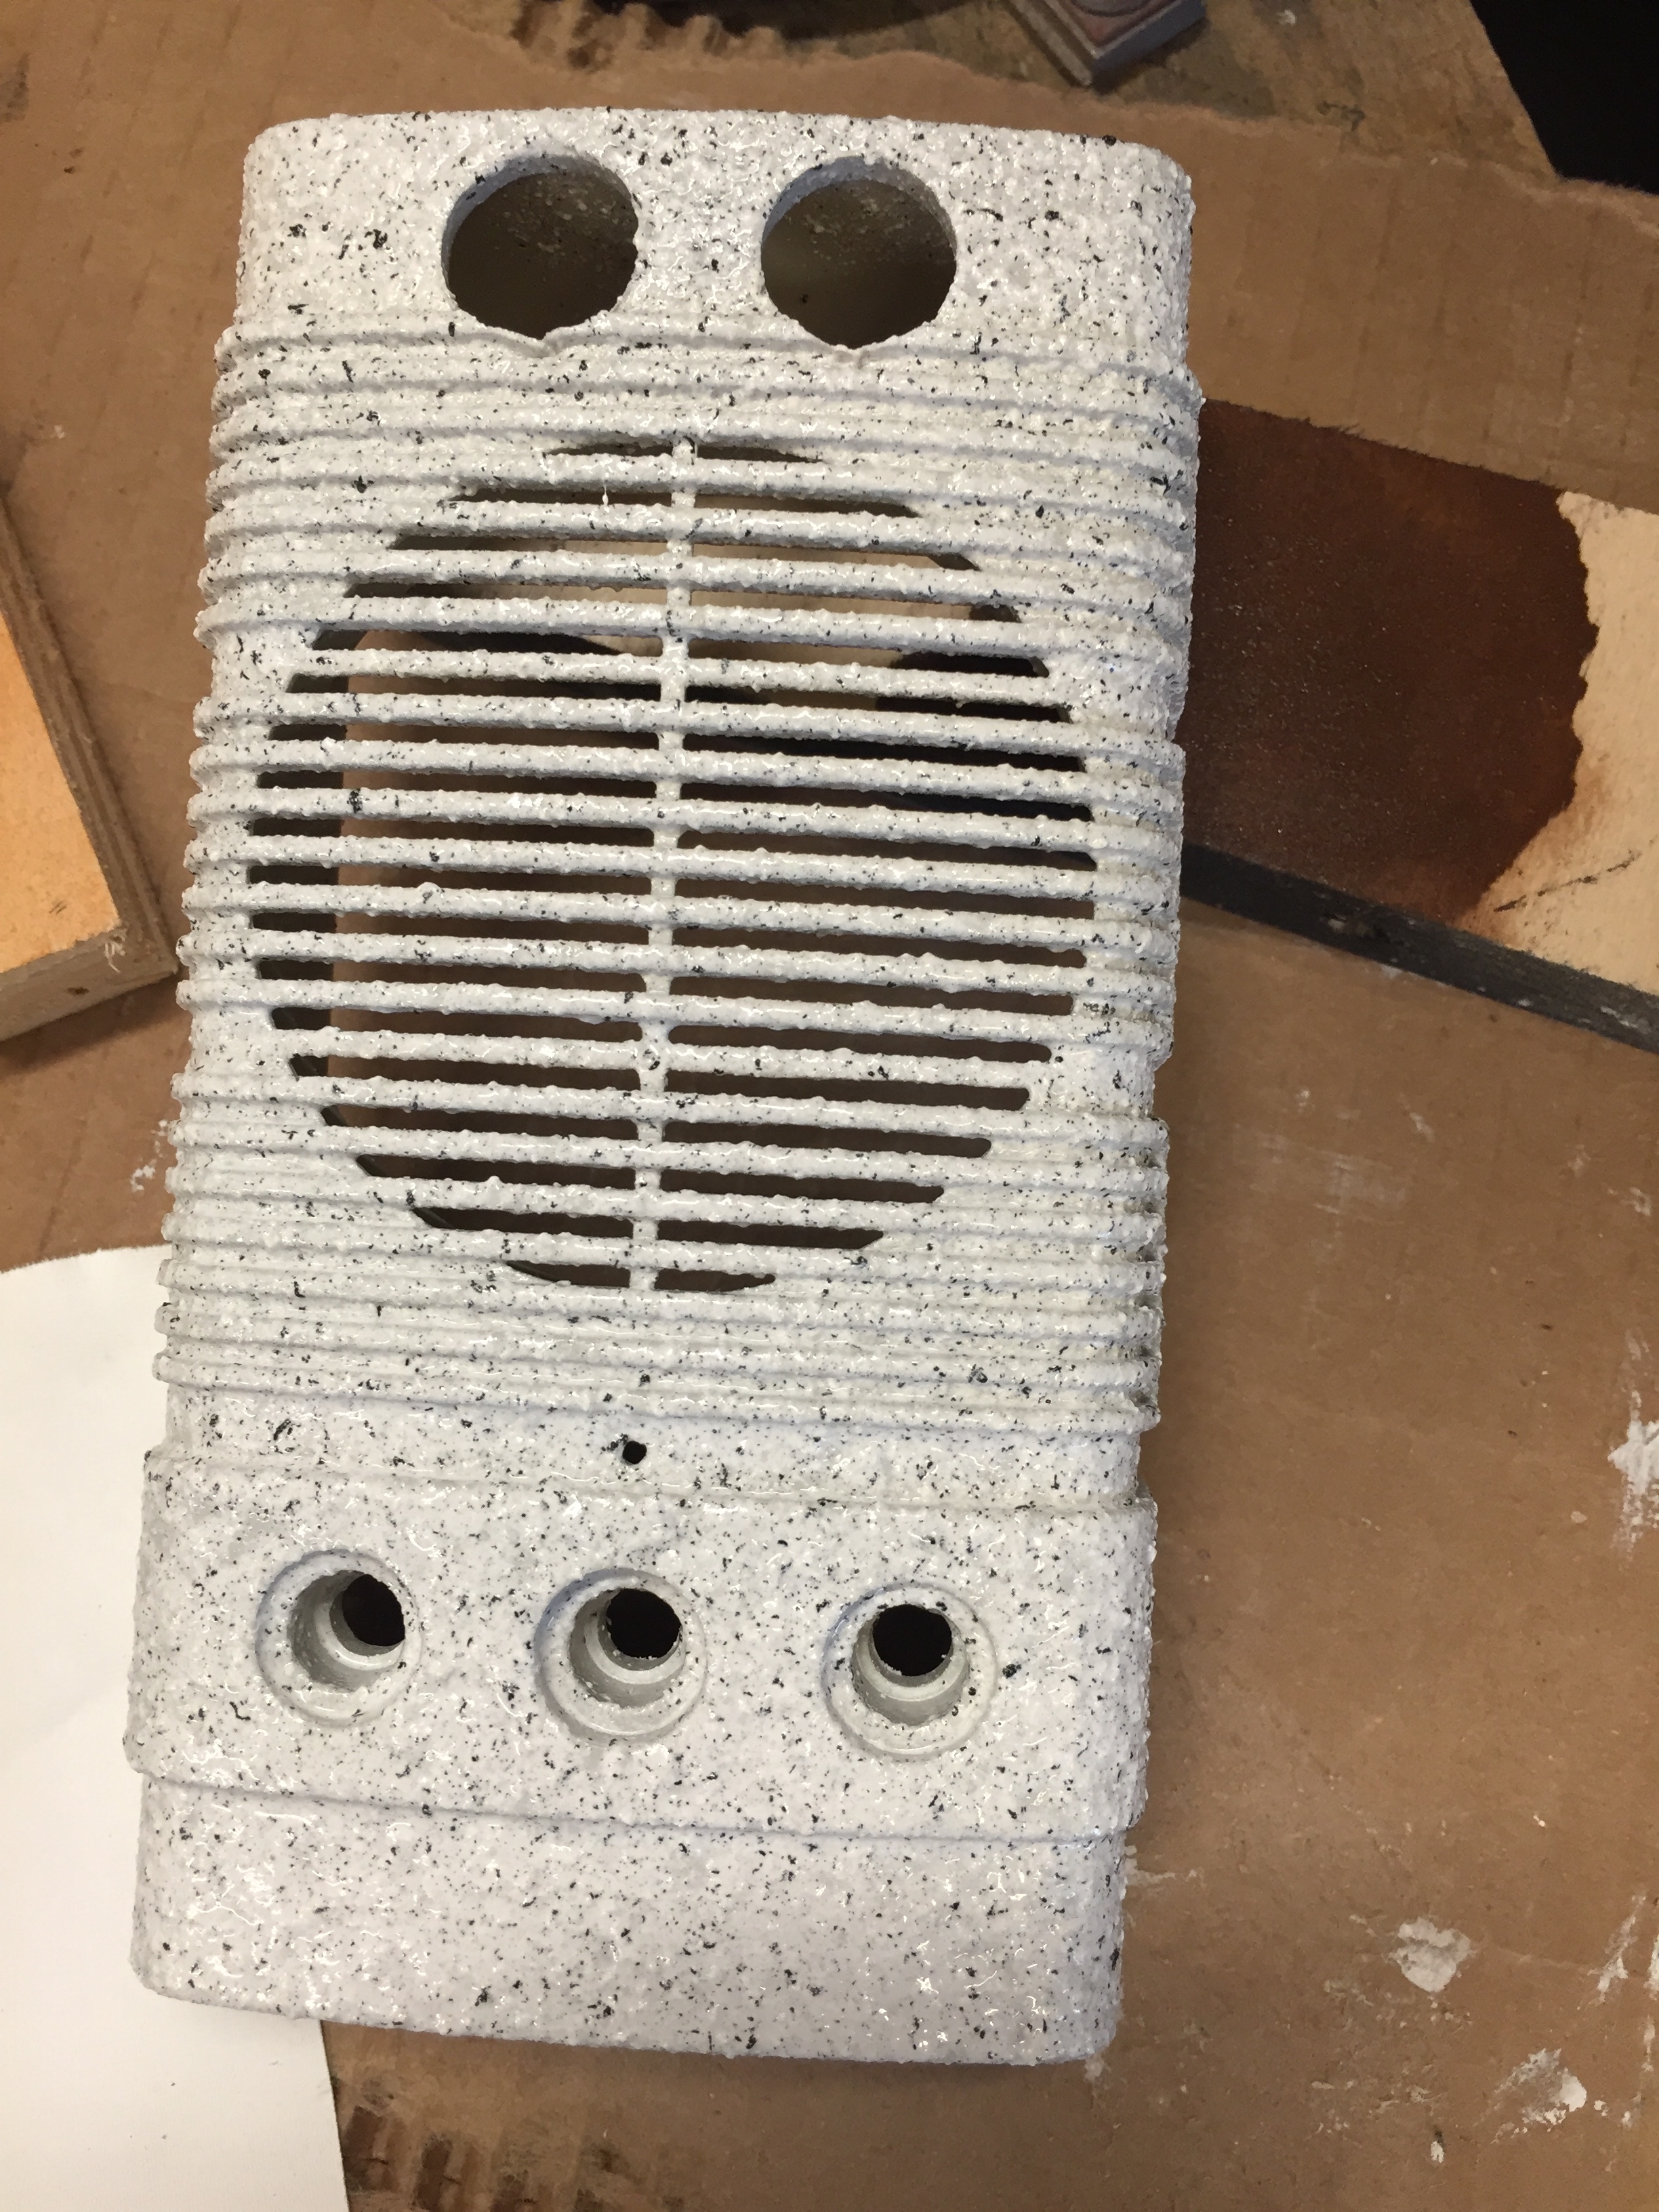

It ended up looking kind of weathered. It reminds me of Wall E.
Assembling the electronics:
This took a lot of fanagaling. After a panic ridden day worrying about whether smaller breadboards would arrive, USPS did pull through and they arrived at 8pm. Not ideal. To get everything to fit I had to but the breadboard and Arduino back to back and essentially stack it.
I attached the LEDs to the breadboard itself and in the order I wanted so I could just place them into the dial holes.


It’s pretty wonky, but it does work! My biggest piece of advice is to try to test if its working in multiple stages a long the way. My idea was to use a sensor that measures distance, trigger LED lights depending on how close or far one is to the sensor. While assembling, I tested to make sure each LED would light, and then again to make sure the Ultrasonic sensor triggered them.
For my info about the code and wiring of this sensor LED interaction, check out my PComp post.
Meet BubbL: The Personal Space Robot
Finally all assembled, everything works. The robot can “see” an object in front of it and senses its distance. BubbL doesn’t like it if you’re too close to it. A green light indicates a good distance, yellow is neutral, red is too close - you’re bursting its bubble!


Final thoughts:
I am most proud that I was able to use a found object and turn it into my enclosure. However, it is definitely difficult making components fit inside a preexisting container. I wonder what it would be like to do the opposite and build the enclosure around the components. This week felt the most daunting thus far, but ultimately, I became really inspired by it. It’s awesome to see how an enclosure can really transform a project. While BubbL’s core is simply one sensor, some light bulbs, and computer code, when contained inside the speaker it takes on a new form and becomes a character with personality. I’m excited to expand on BubbL’s capabilities or make other found object robots in the future!

