I was super excited to get started on this project because I’ve actually had this idea in mind for a while but didn’t quite know the best way to execute it. Lo and behold, acrylic and the laser cutter happened to be the perfect material and tool.
As they say, diamonds are a girl’s best friend...but ain’t nobody got the monies for that.
I knew I wanted to make ”diamond” earrings - a 2D graphic rendering of a diamond. So it’s a lil punny. I try to be clever.
With an extra time constraint this week because I would be out of town for a wedding over the weekend, I chose to do something simple that I felt would be a good intro to the laser cutter and actually achievable.
Step one: gather materials
I knew I wanted to use acrylic for this. A plastic would give stability and emulate the shiny quality of a diamond. I took a field trip to Canal Plastics - what an amazing store. I definitely had a magpie moment like let me buy all of the shiny, but I controlled myself and chose a white acrylic at 1/16” thickness because it would 1) pop against the skin 2) was thin enough to eventually stick wire clasps through, 3) was the cheapest. For my first time ever using the laser cutter I didn’t think it would be wise to buy expensive material.
Fortunately, I had some earring hooks at home. All set to go!
Step two: design
I drew out on paper a quick sketch, but since the laser cutter only uses Adobe Illustrator files, the final design would have to be computerized. This was by far my biggest challenge, because although proficient in Photoshop and other Adobe softwares, I don’t know Illustrator at all. It was just as difficult as I expected! I thought my diamond shape was relatively straight forward, but it took HOURS. Especially turning it into an outline and making sure everything was symmetrical. If any one knows good Illustrator tutorials or tricks, hit me up.

Step three: Laser Cutting
Now for the fun but also most intimidating part. I found some unclaimed scrap acrylic in the shop to use for my test runs. My white acrylic was sacred. SOMEONE LEFT THE SHINIEST MOST BEAUTIFUL HOLOGRAPHIC ACRYLIC....which I did not even successful cut through. More on that later.
It took many many tests to figure out the right settings for the laser cutter AND my design. The scrap material was much thicker than what I would be using, but I figured if I learned how the printer would react to 1/8” acrylic then it would actually be easier to cut my material.
I used the 75 watt laser. I prepared my illustrator file on the connected laptop and focused the laser for the iridescent acrylic I found. (which is like playing game, moving the bed closer to the laser) The first round, the cutter was set to 30s 100 power...as suggested by a helpful shop worker. For acrylic the ideal setting was actually 3s, 100 power. So this obviously did not cut through. Even after running the job several times (cutting over and over through the same lines). Wishful thinking that my diamonds would come out perfectly on the pretty holographic acrylic on the first try.

For the next few tries, I kept knocking the speed setting down closer to the ideal. It honestly did not cut until it was set to the exact ideal setting. However, I can see why shop friend suggested the higher speed. At a lower speed, the laser did finally cut through the acrylic but it also burned it and sparked uncomfortably. My finger was hovering over the stop button and I was trying not to panic that I would destroy the laser cutter and burn down ITP on my very first project. ALAS, all was fine, and settings duly noted.
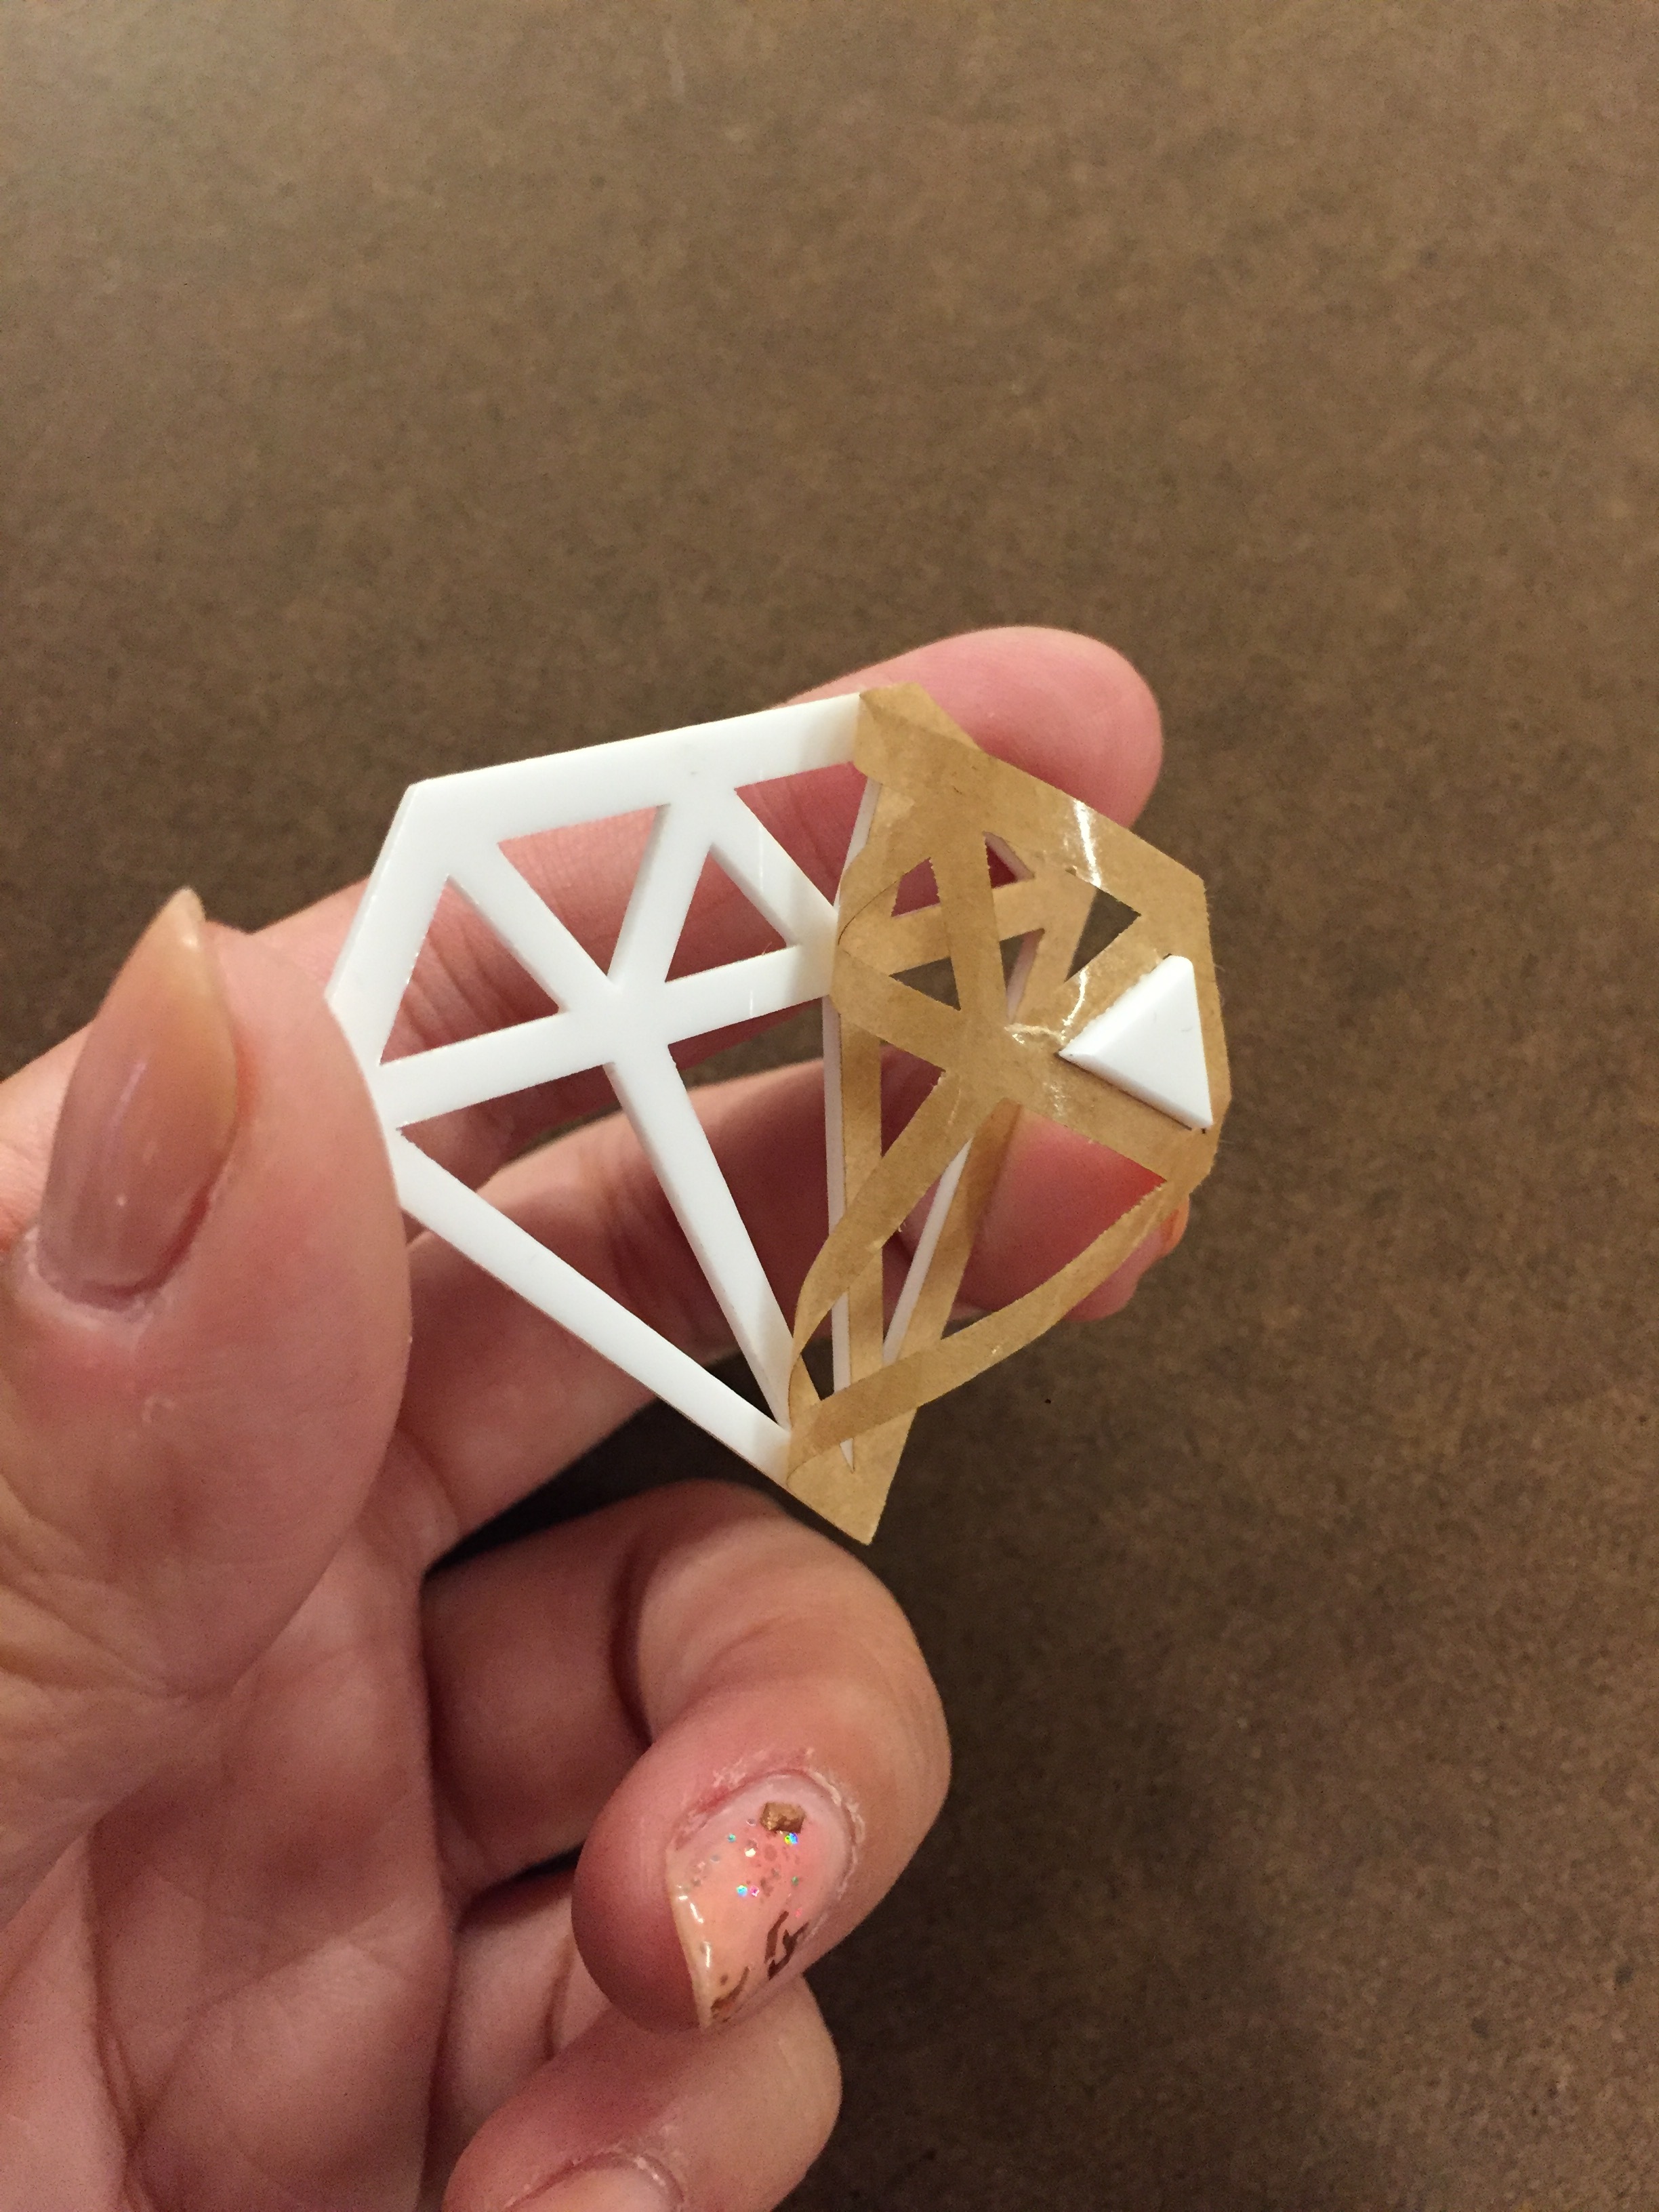
The biggest take away however, was that my lines were too thin on my cutout. The laser cutter is precise but it has its limitations. My first diamond was so thin, I broke it in half. So after all the hours I spent working on my design, I had to change it :’(
Step 4: Redesign
I redesigned the diamonds into two new files, one with thicker lines, and another with even thicker lines.

Final design
Step 5: laser cutter…again
I cut both of my new files to test which thickness of lines I liked best. With a few more adjustments (reduced the thickness of the top horizontal line and the size of the hole where the hook would attach), I finally liked the look of everything and the lines were thick enough that it would be sturdy.
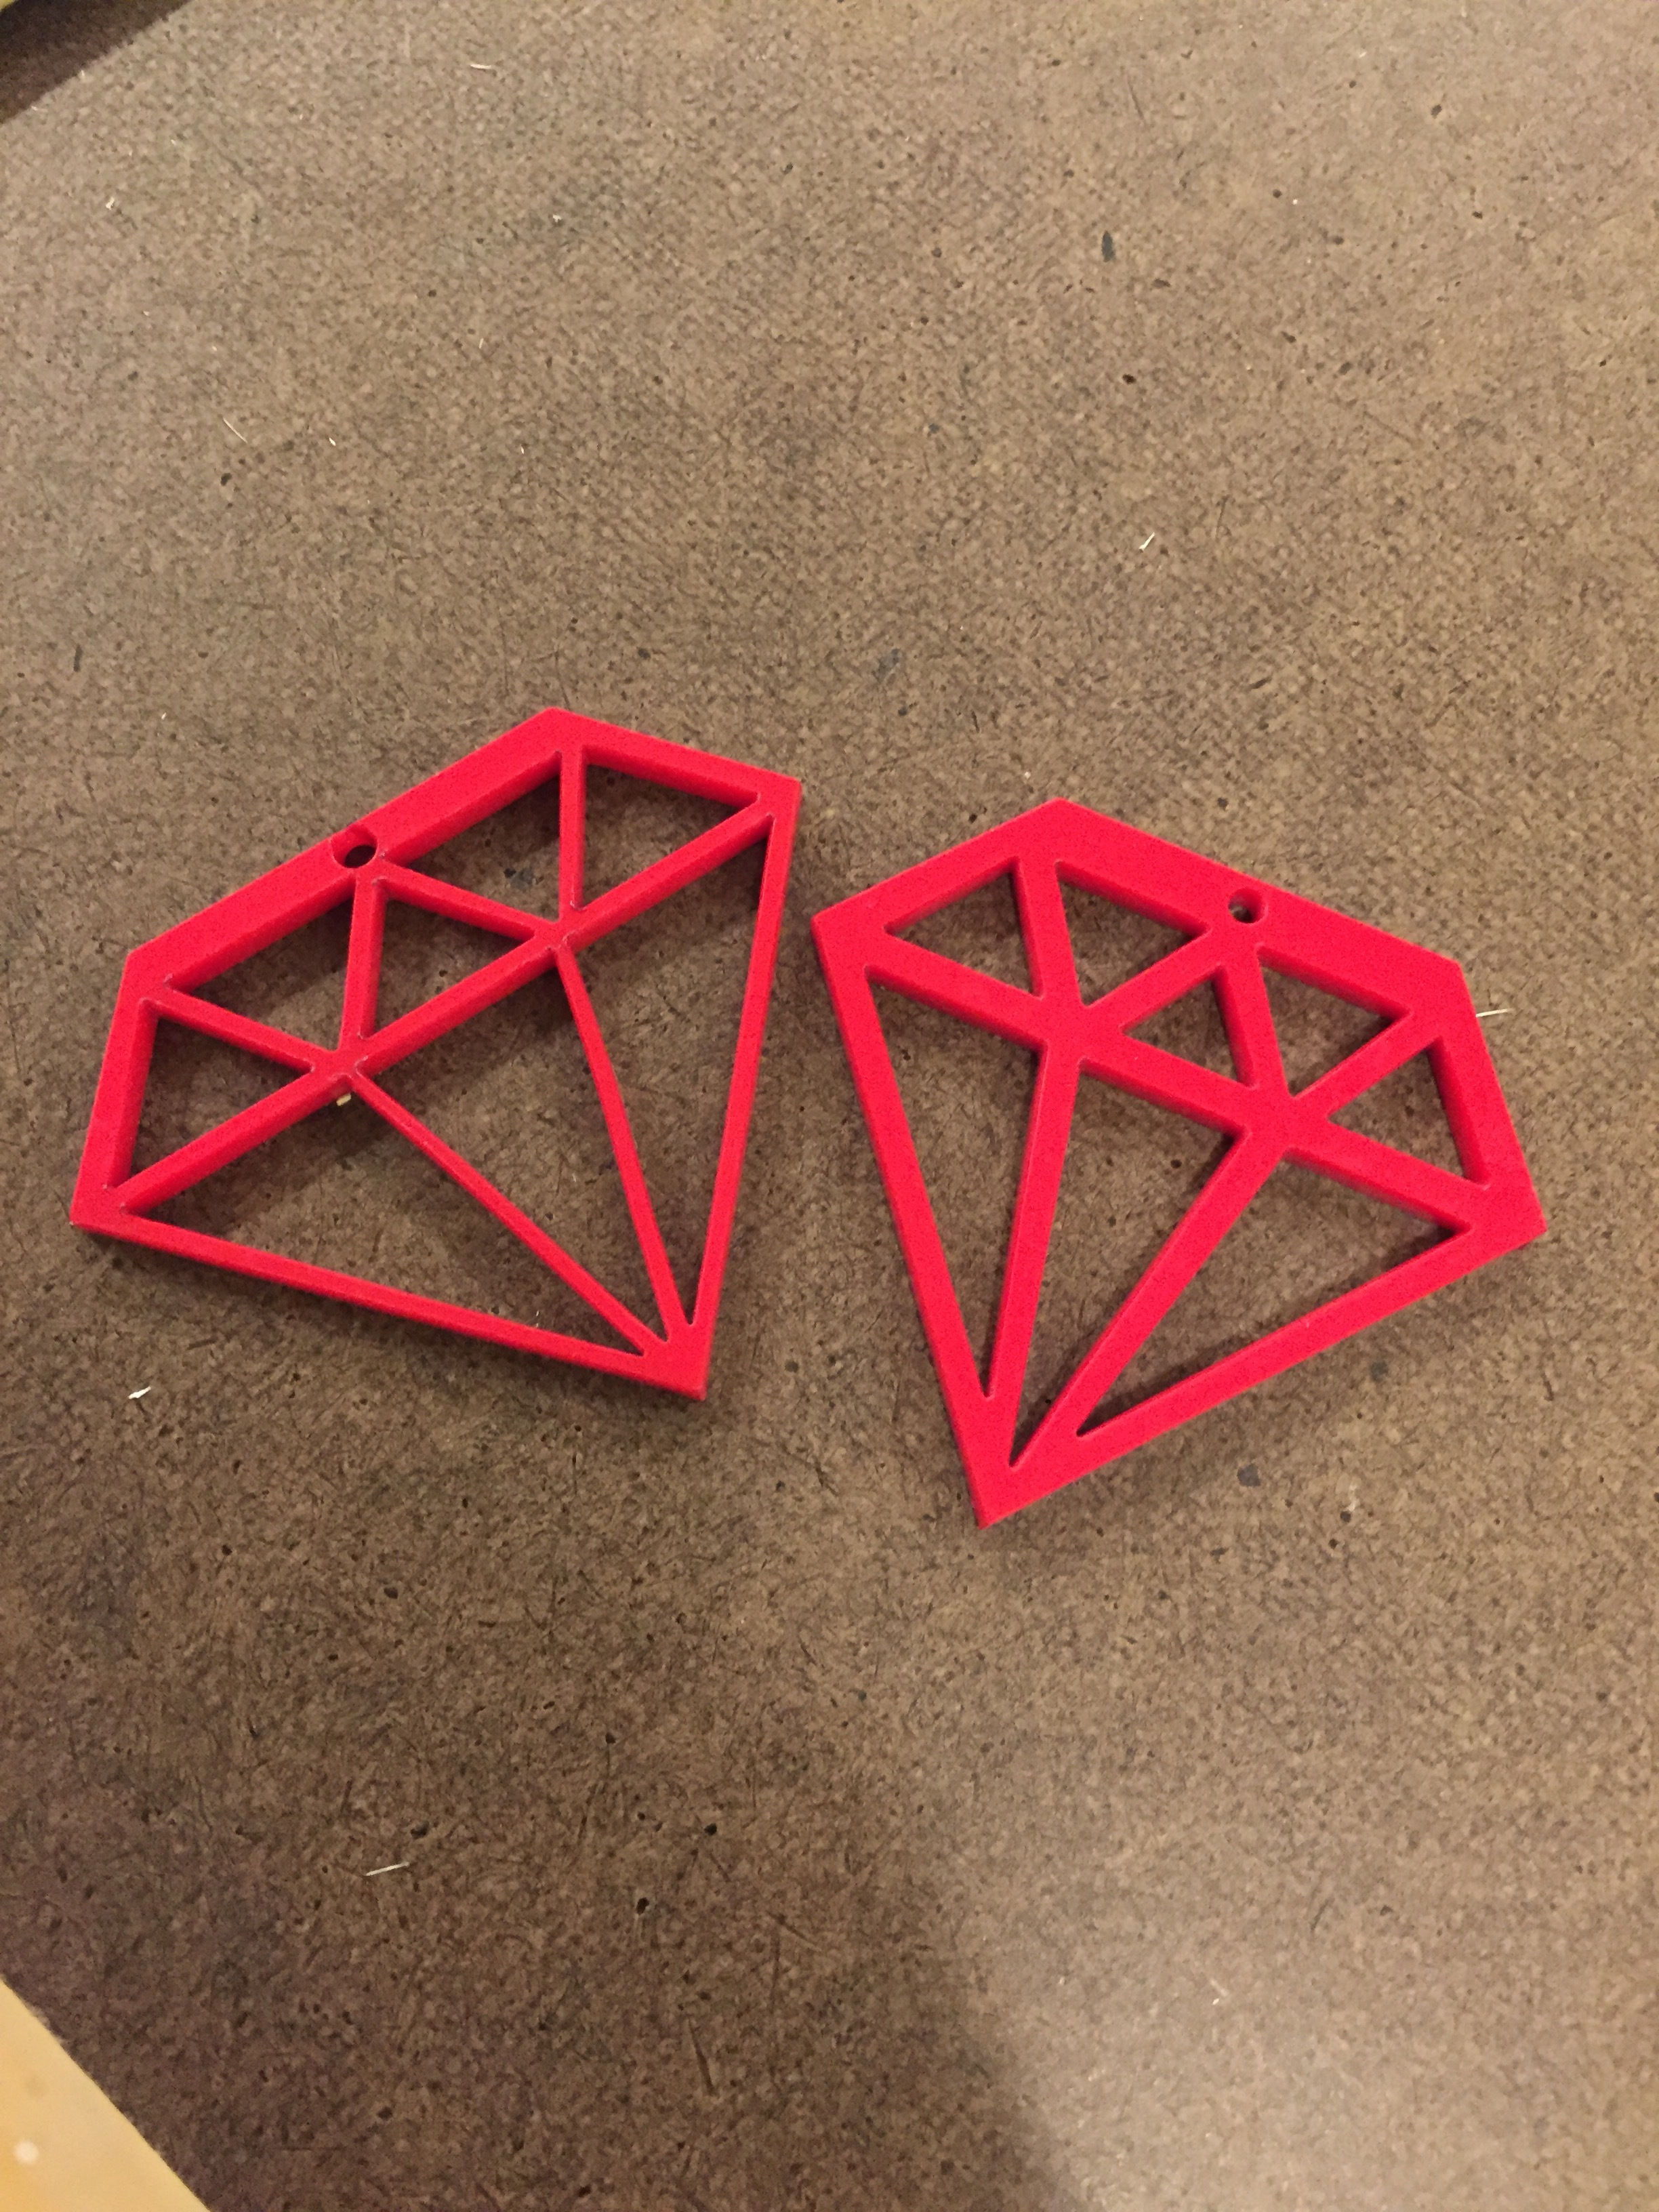
Thicker lines (left) vs. Thickest lines (right)
Opening my fresh white opaque acrylic, I popped it in the laser cutter and set it to 10s and 100power, upping the speed because this material was half as thick as my test runs. It cut beautifully! Success.

Final white diamond
I removed the paper backing, probably the most satisfying part and was ready to assemble the earrings. My aunt taught me some basics about jewelry making this summer, so I already knew how to attach the hooks. I used pre-made metal hooks for a bit of a short cut here. Note to self: buy actual jeweler’s pliers to work with intricately with wires without damaging them.
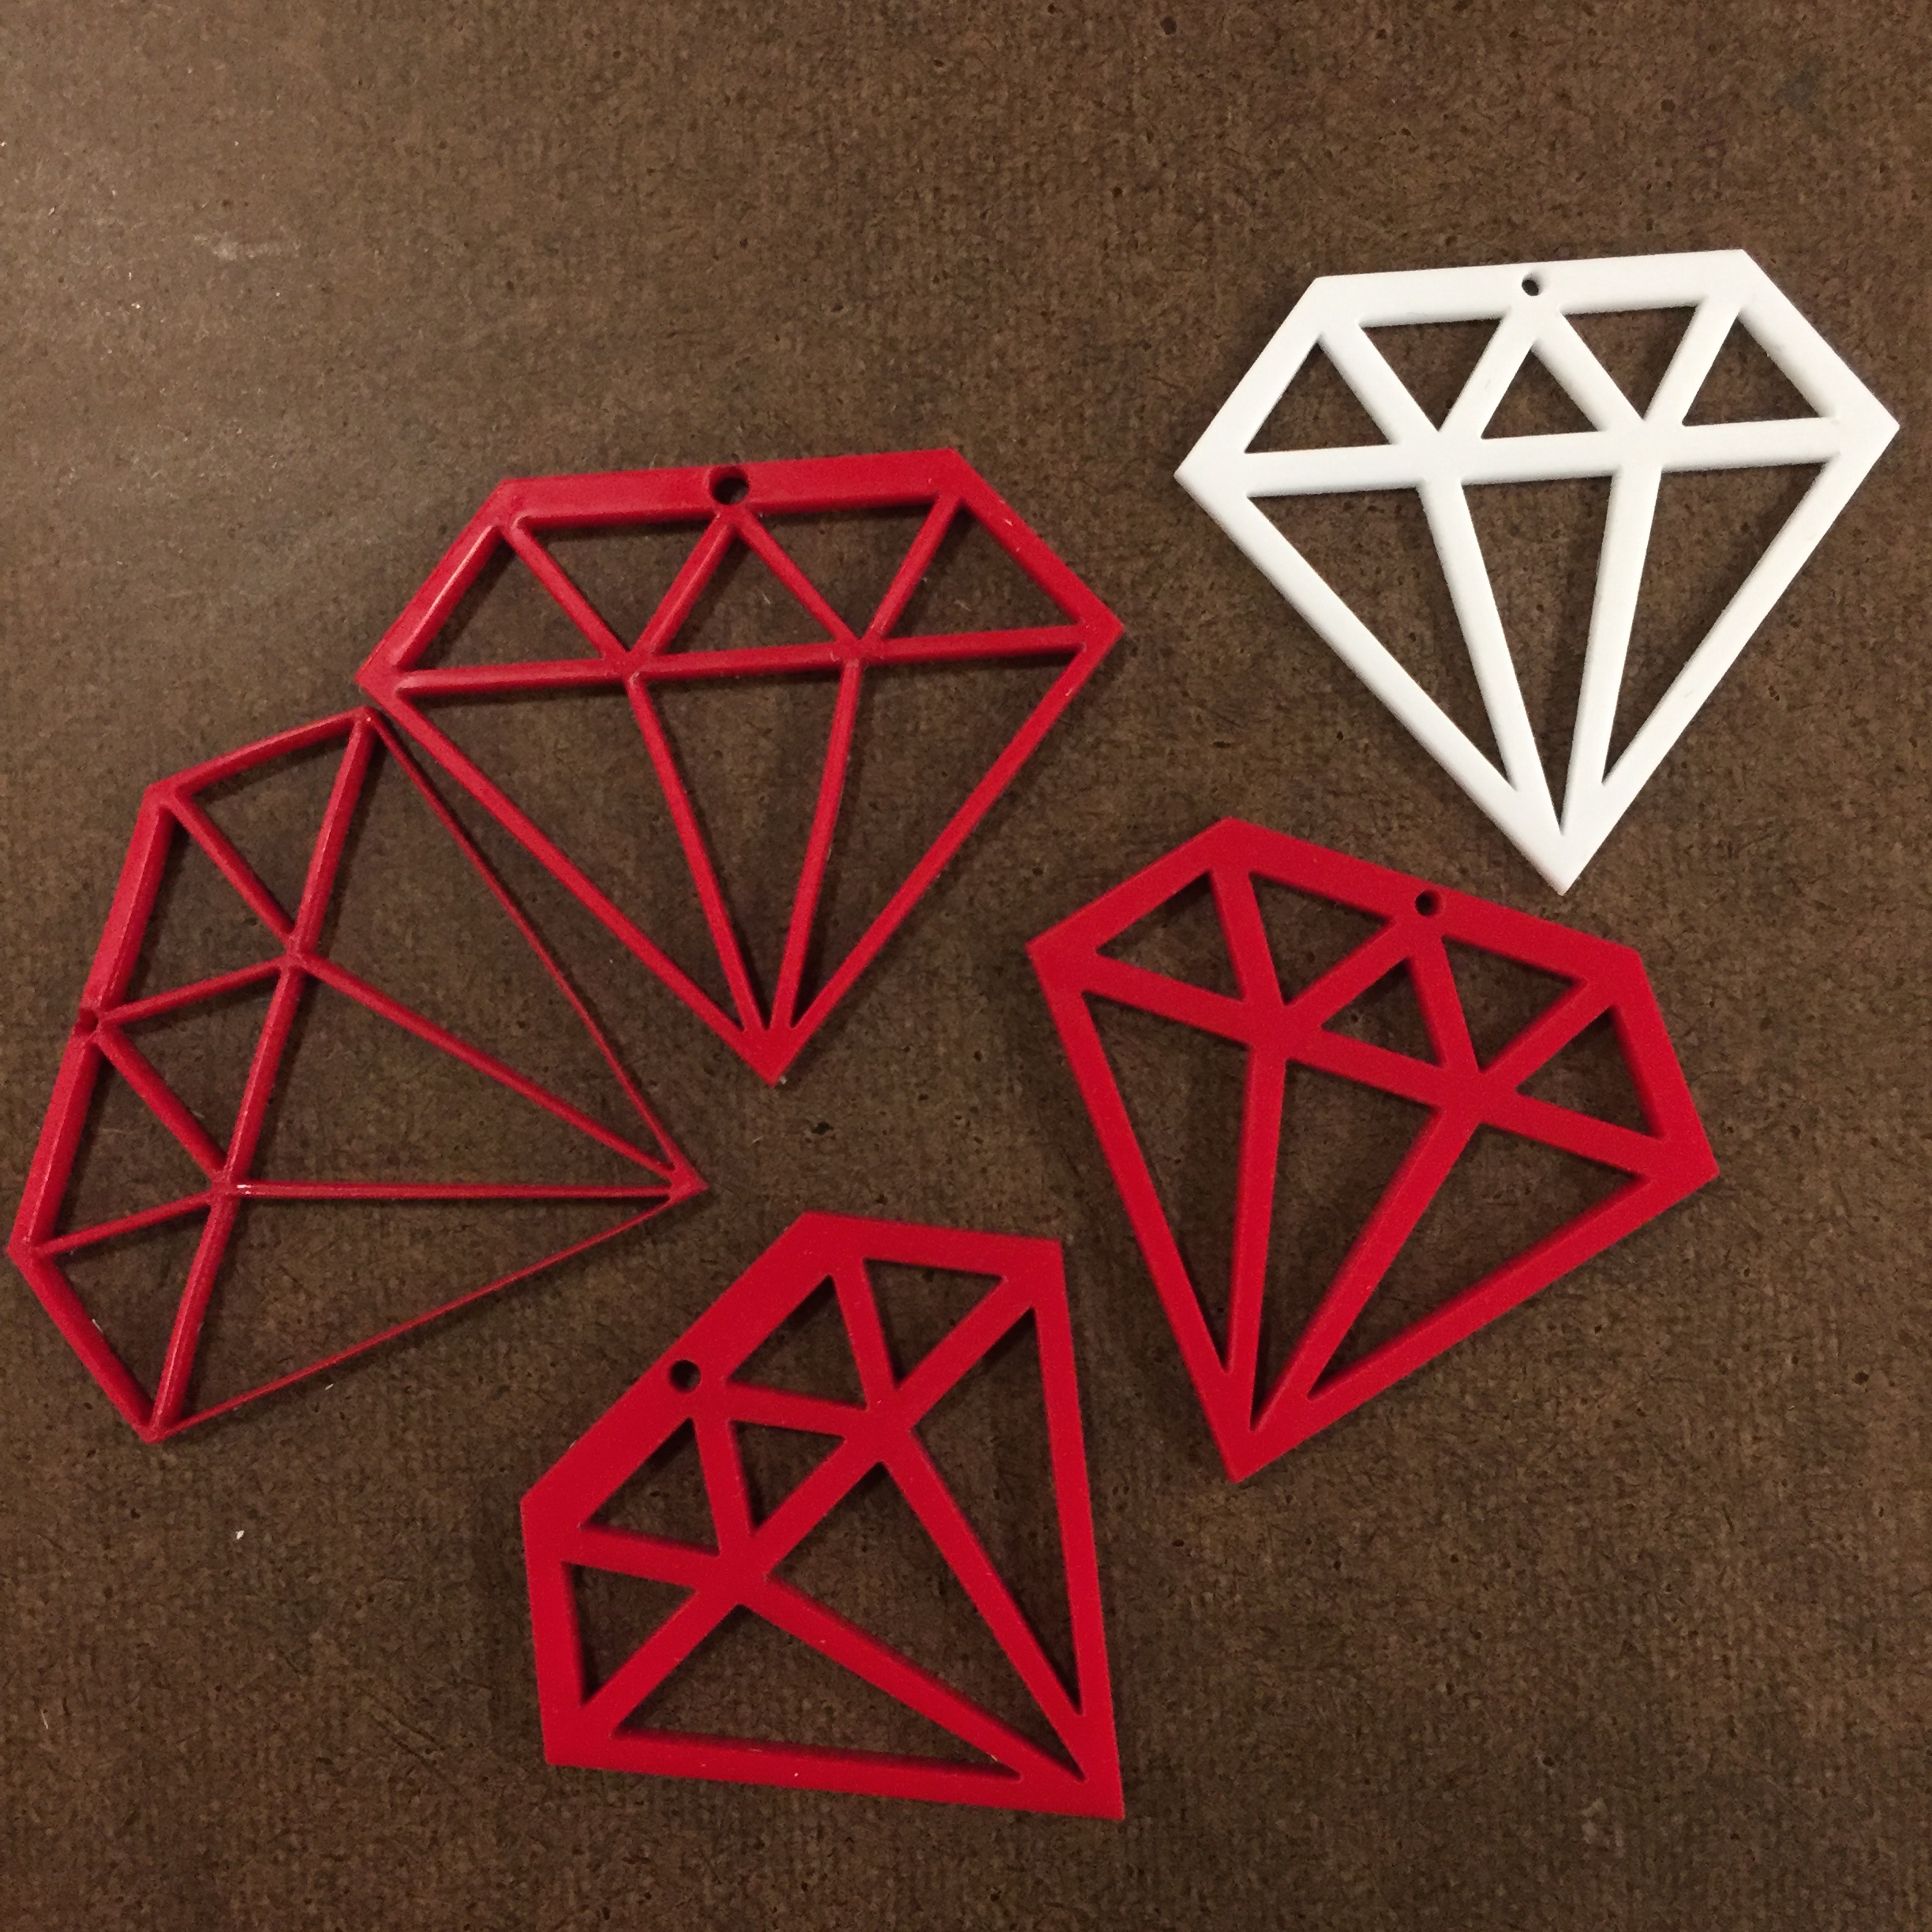
All the test runs vs. final white diamond
Final Thoughts:
The final product is actually wearable earrings! I love how they turned out. I kinda want to expand on the idea and do a whole gem earrings series. Would you wear these? Let me know what you think!
