Since my focus was fabrication, the majority of the process documented here shows how the physical wall was created. However, sprinkled in are progress shots of the AR development and visual design.
WALL PLANNING
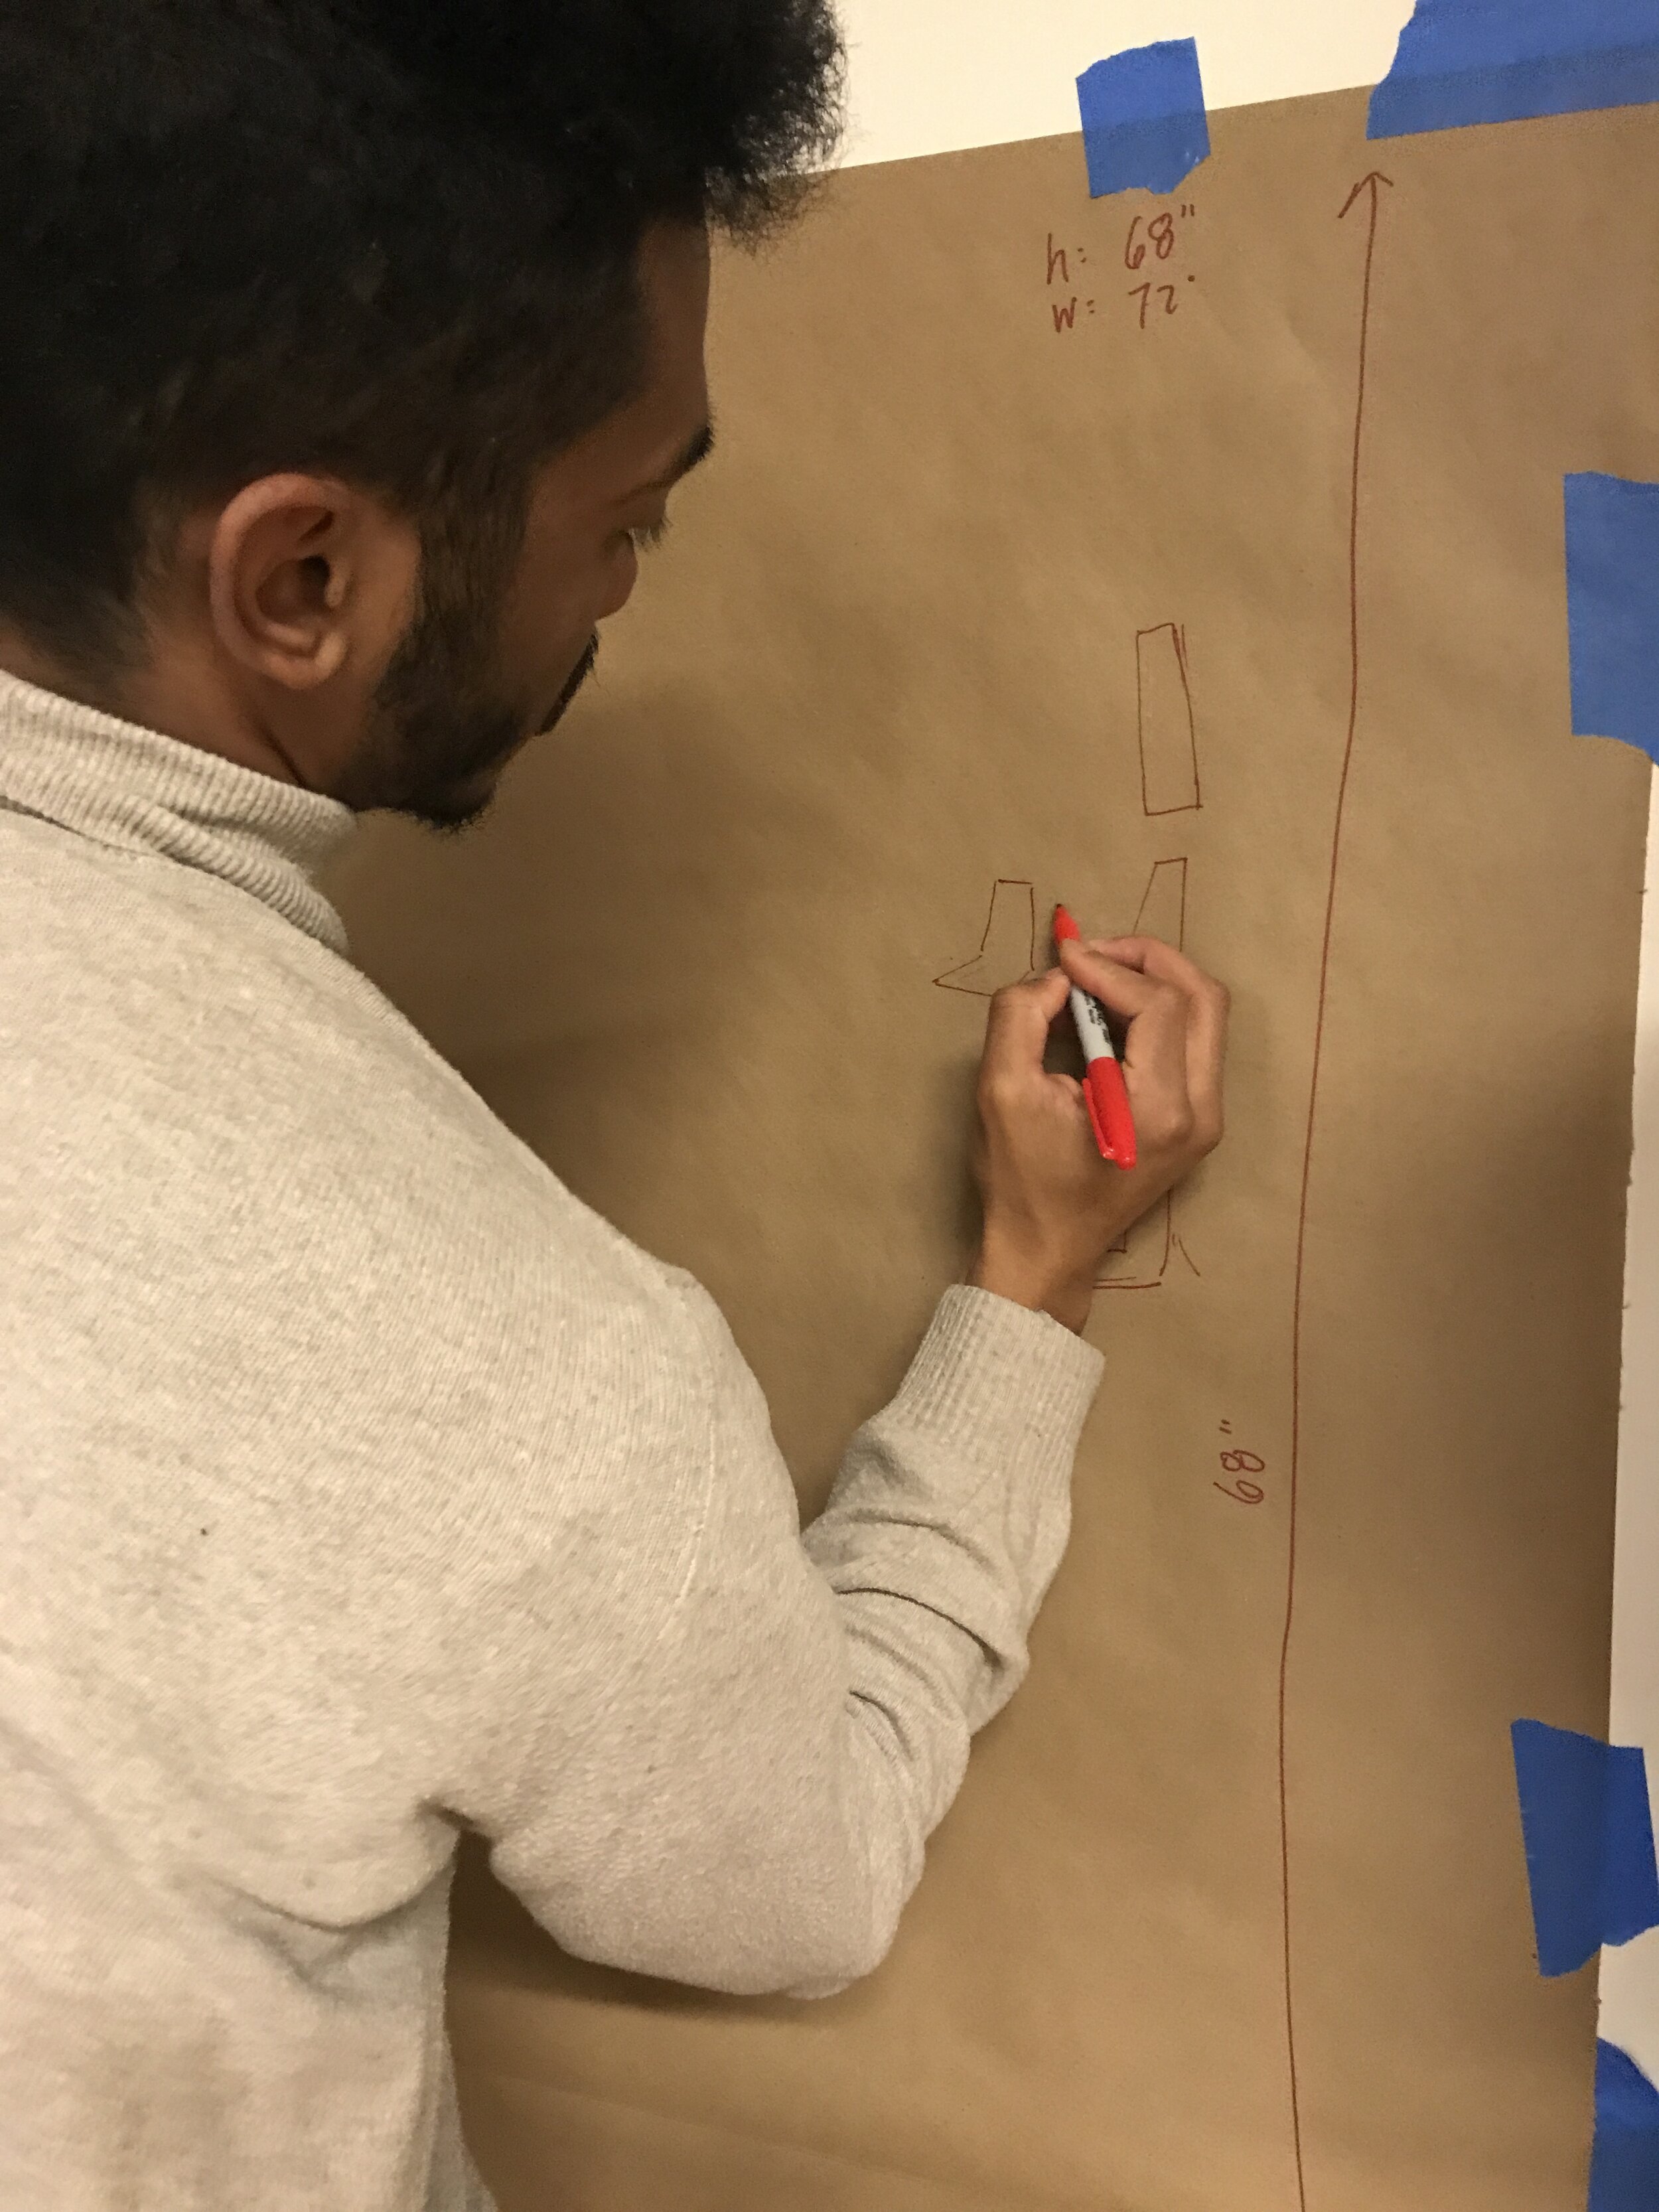
To get a sense of the scale, we used butcher paper on the wall to start planning the size of our rock wall. It was important that the interactive was large enough to feel realistic and immersive. We settled on making it 6 ft tall. However, we knew it would also need to be portable, so I suggested we fabricate it in sections that can be pieced together and taken apart at will. We considered using PVC pipe or other materials for the structural integrity. However, with some research and advice from a theatre set designer, I learned that EPS foam would be the perfect material for us. It is dense enough to hold itself up given a substantial footprint, but light enough to transport, and most importantly it is malleable. It can be carved and painted so well it can transform into something that looks completely unlike foam.
We ordered 13 blocks of EPS foam at a size of 1’ x 1 ’x 3’.

EARL AR TESTS
Dylan began testing object tracking in AR. Instead of using an image target, the camera of a mobile device would be able to recognize 3D objects. We felt that with our wall being so sculptural that this would be the most effective way to spawn AR content.

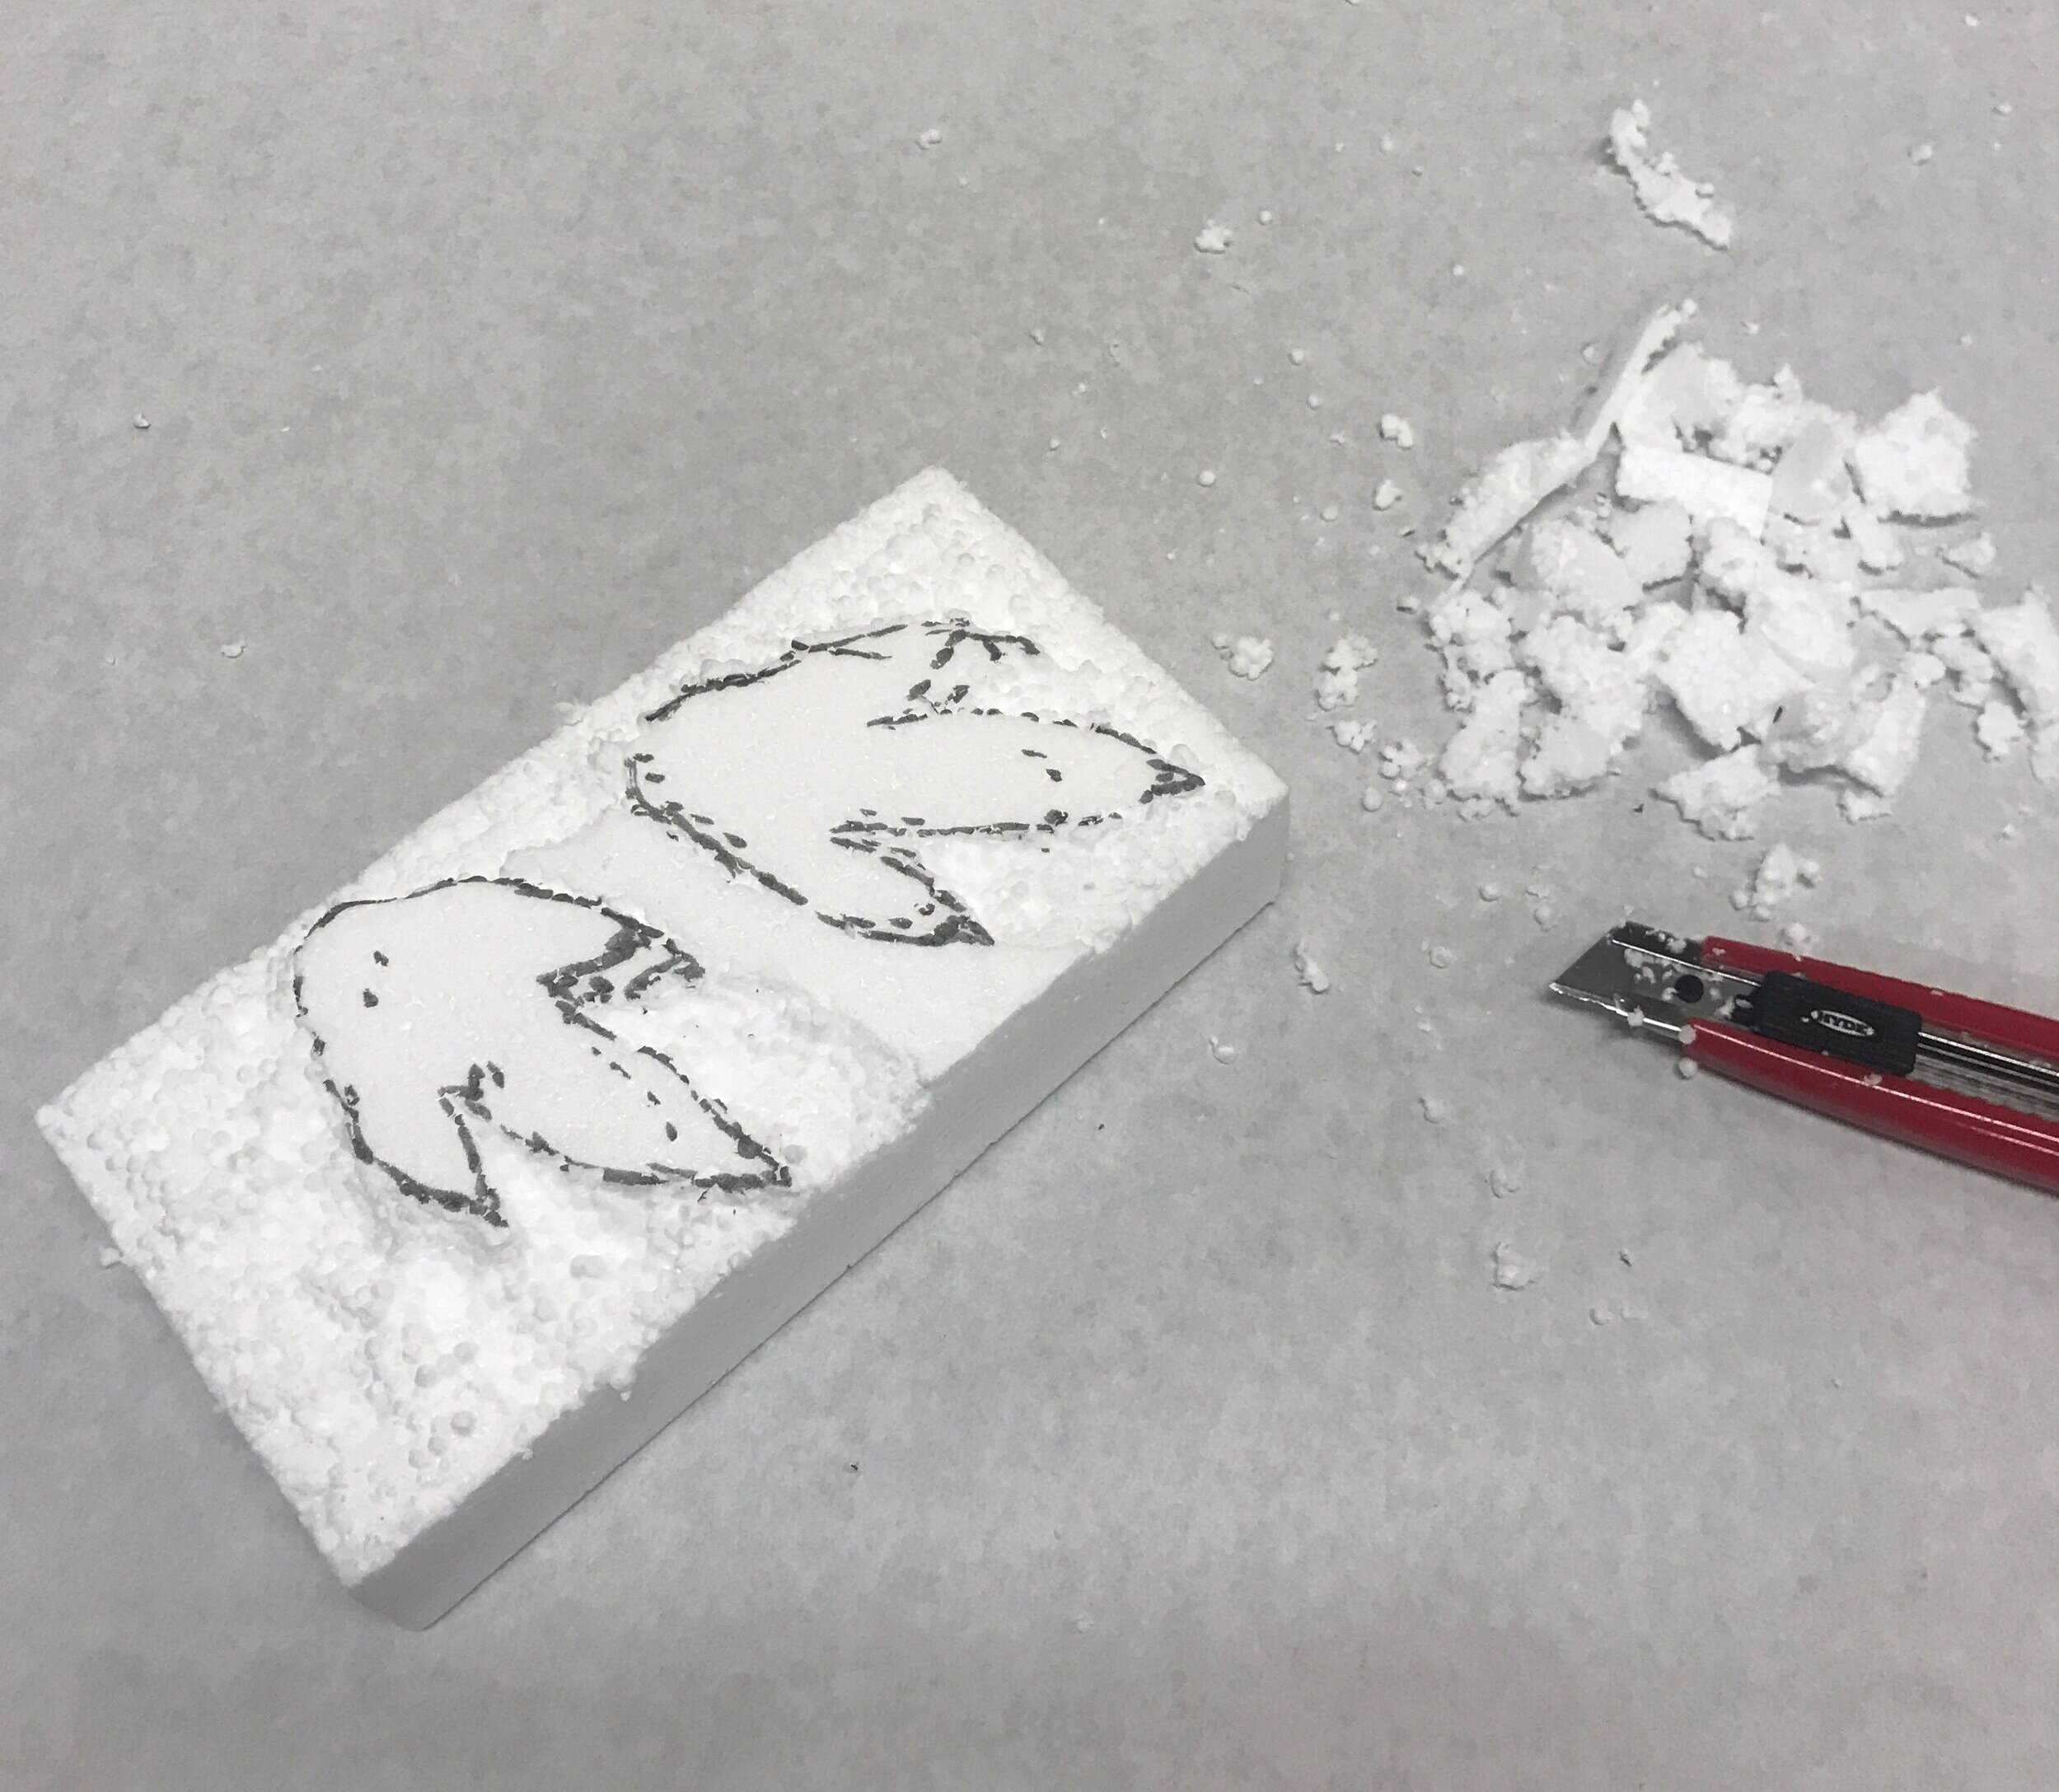
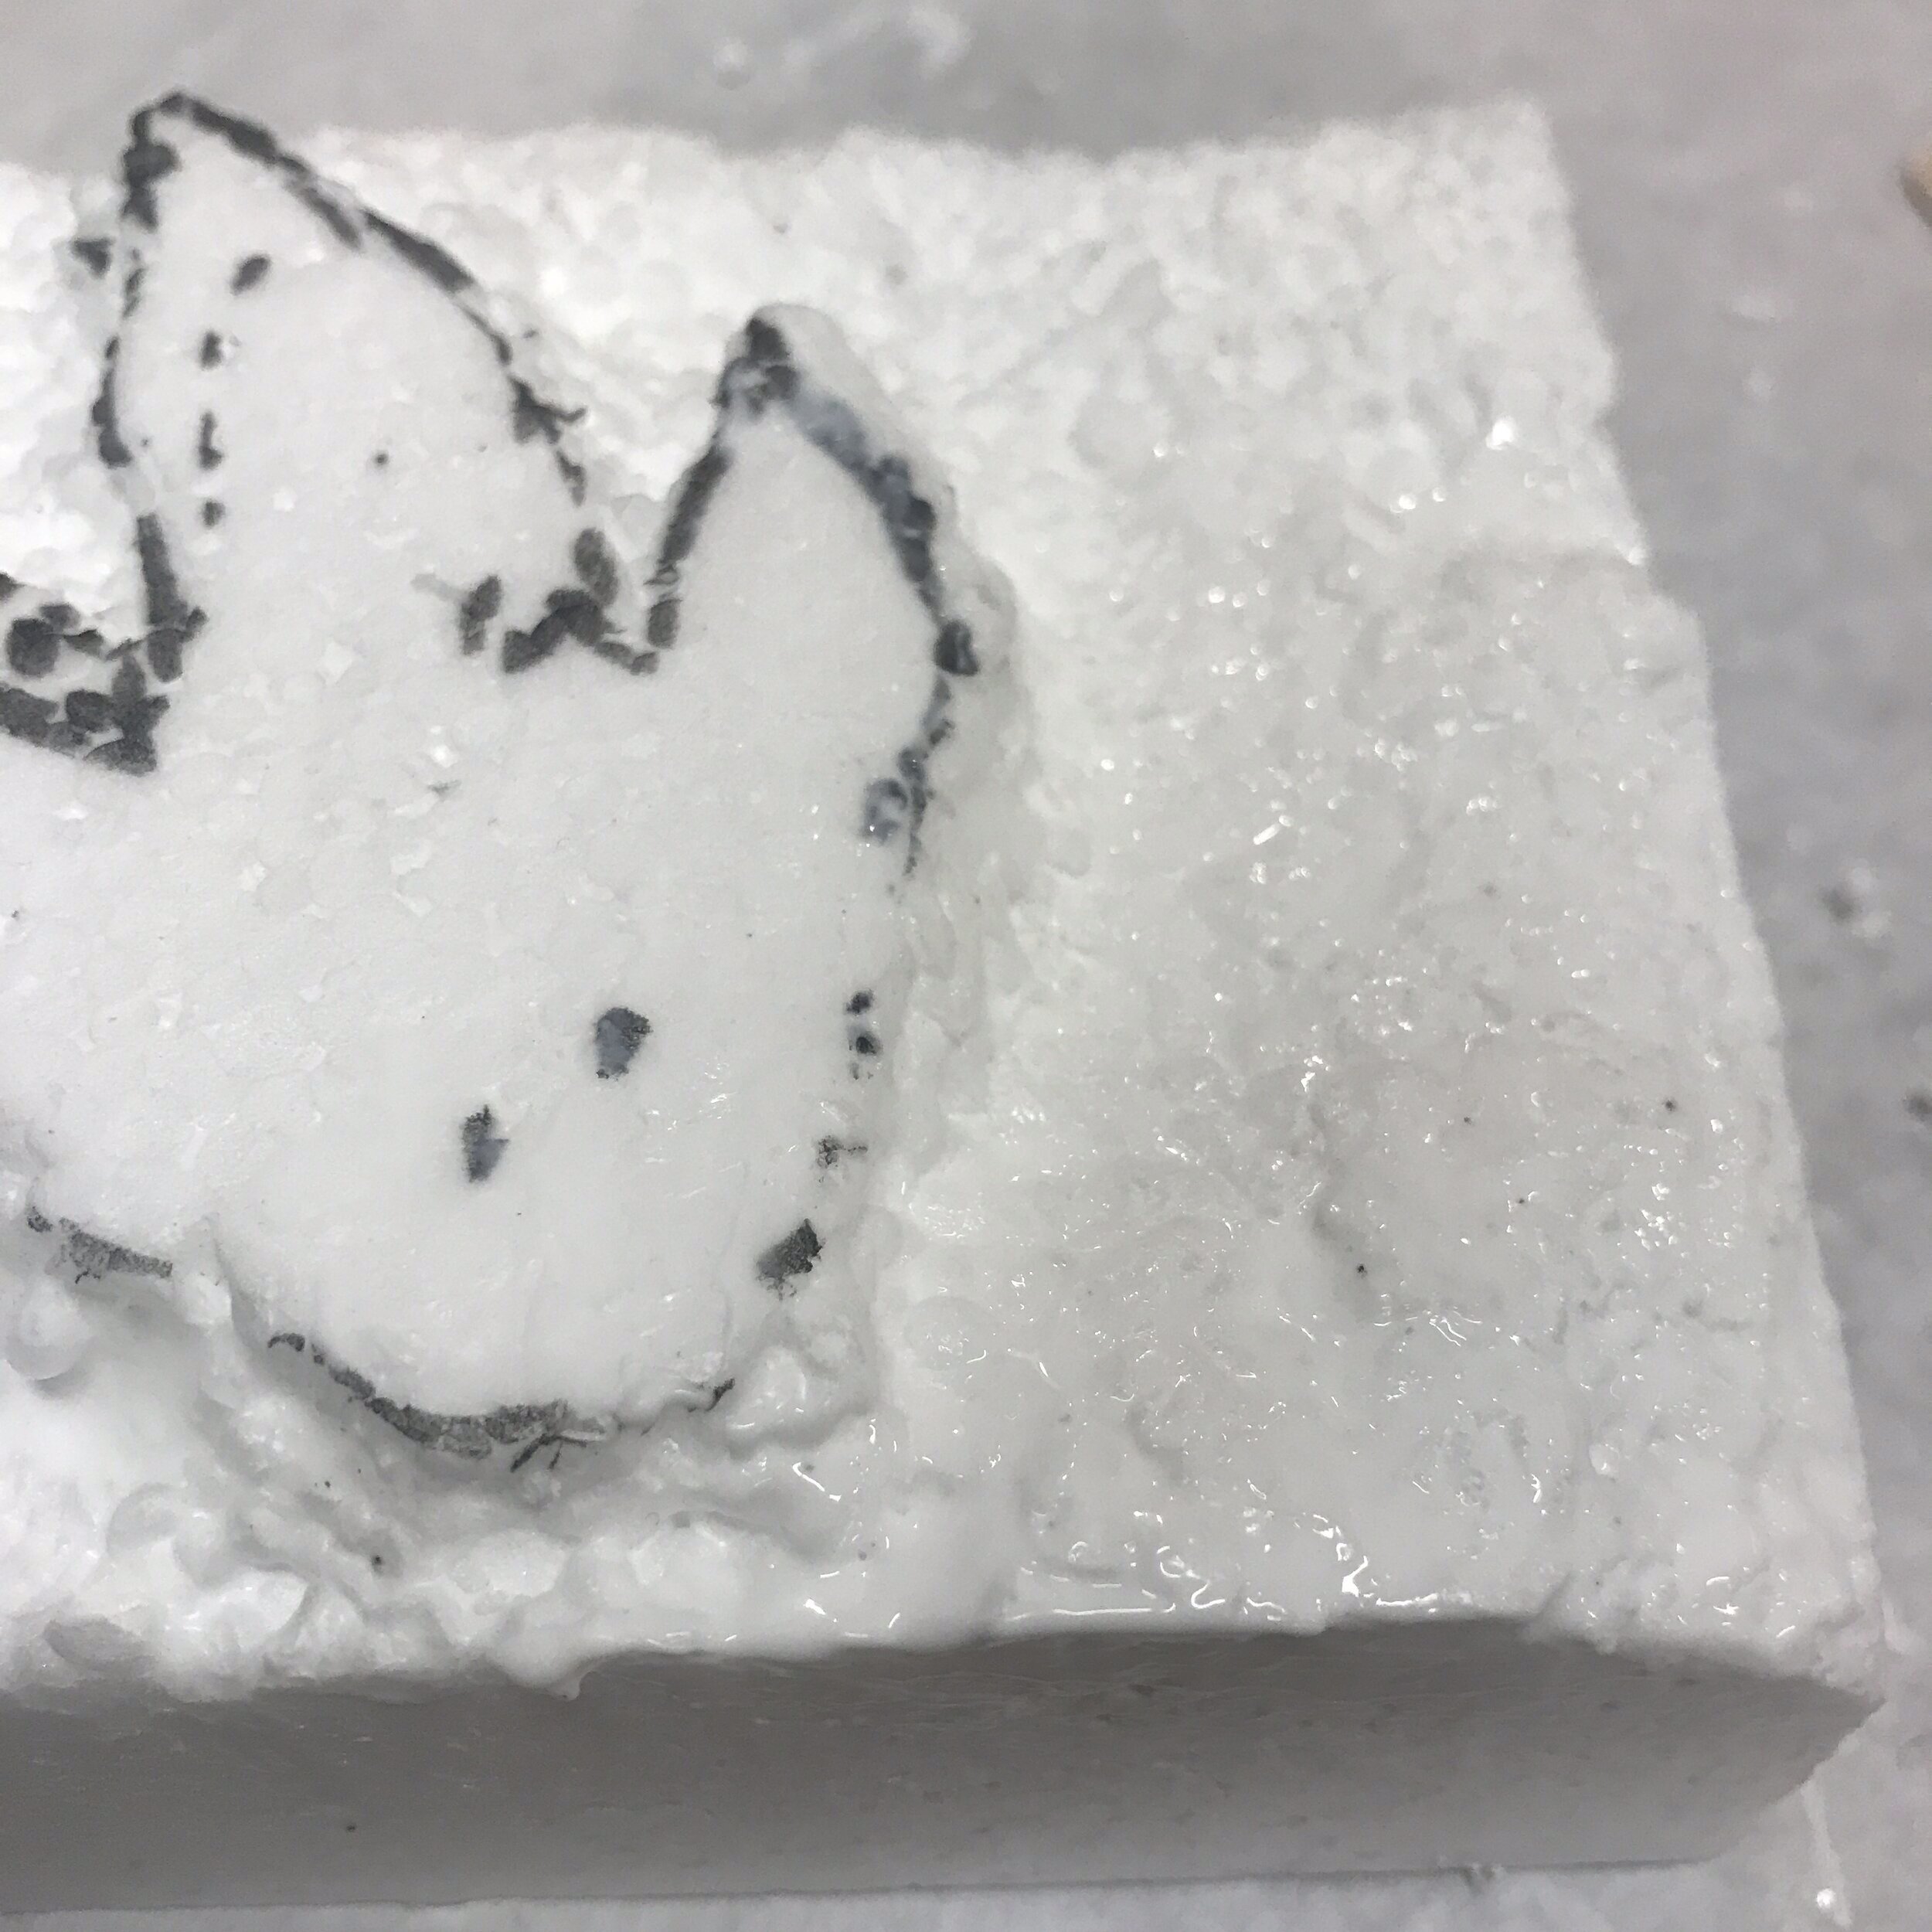
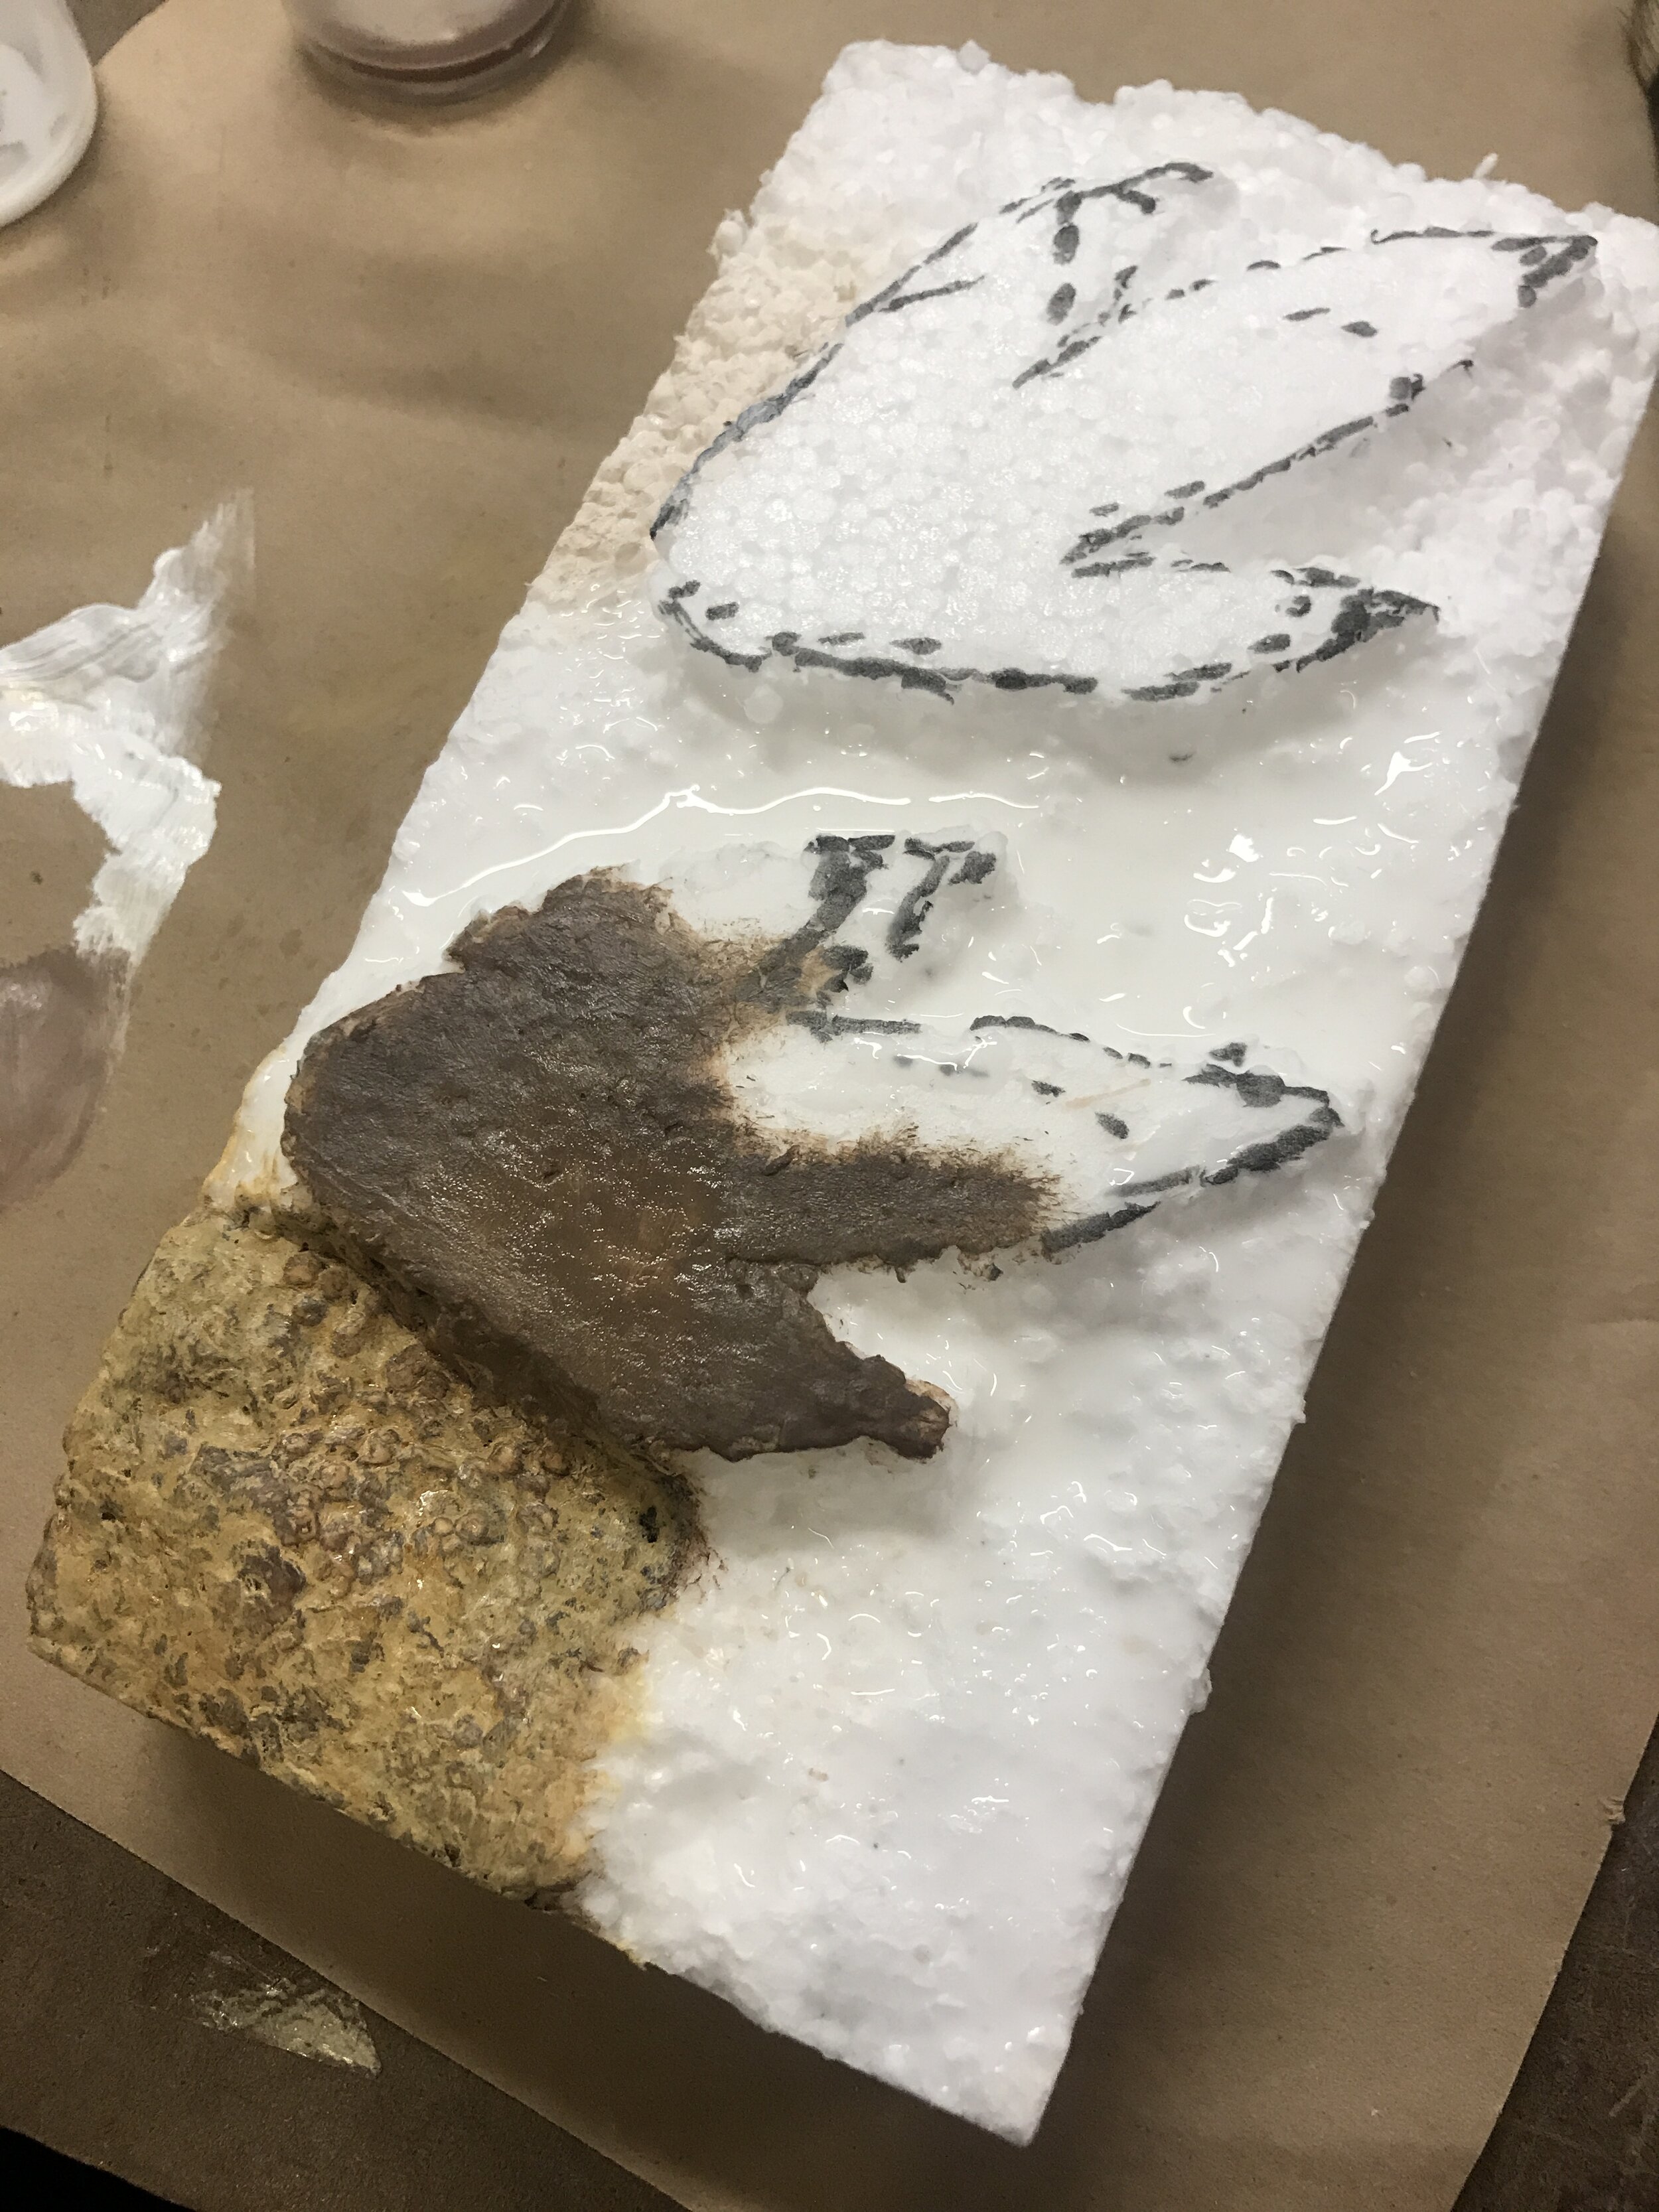
INITIAL FOAM CARVING TEST
While waiting for the final foam to arrive, I practiced craving on smaller pieces.

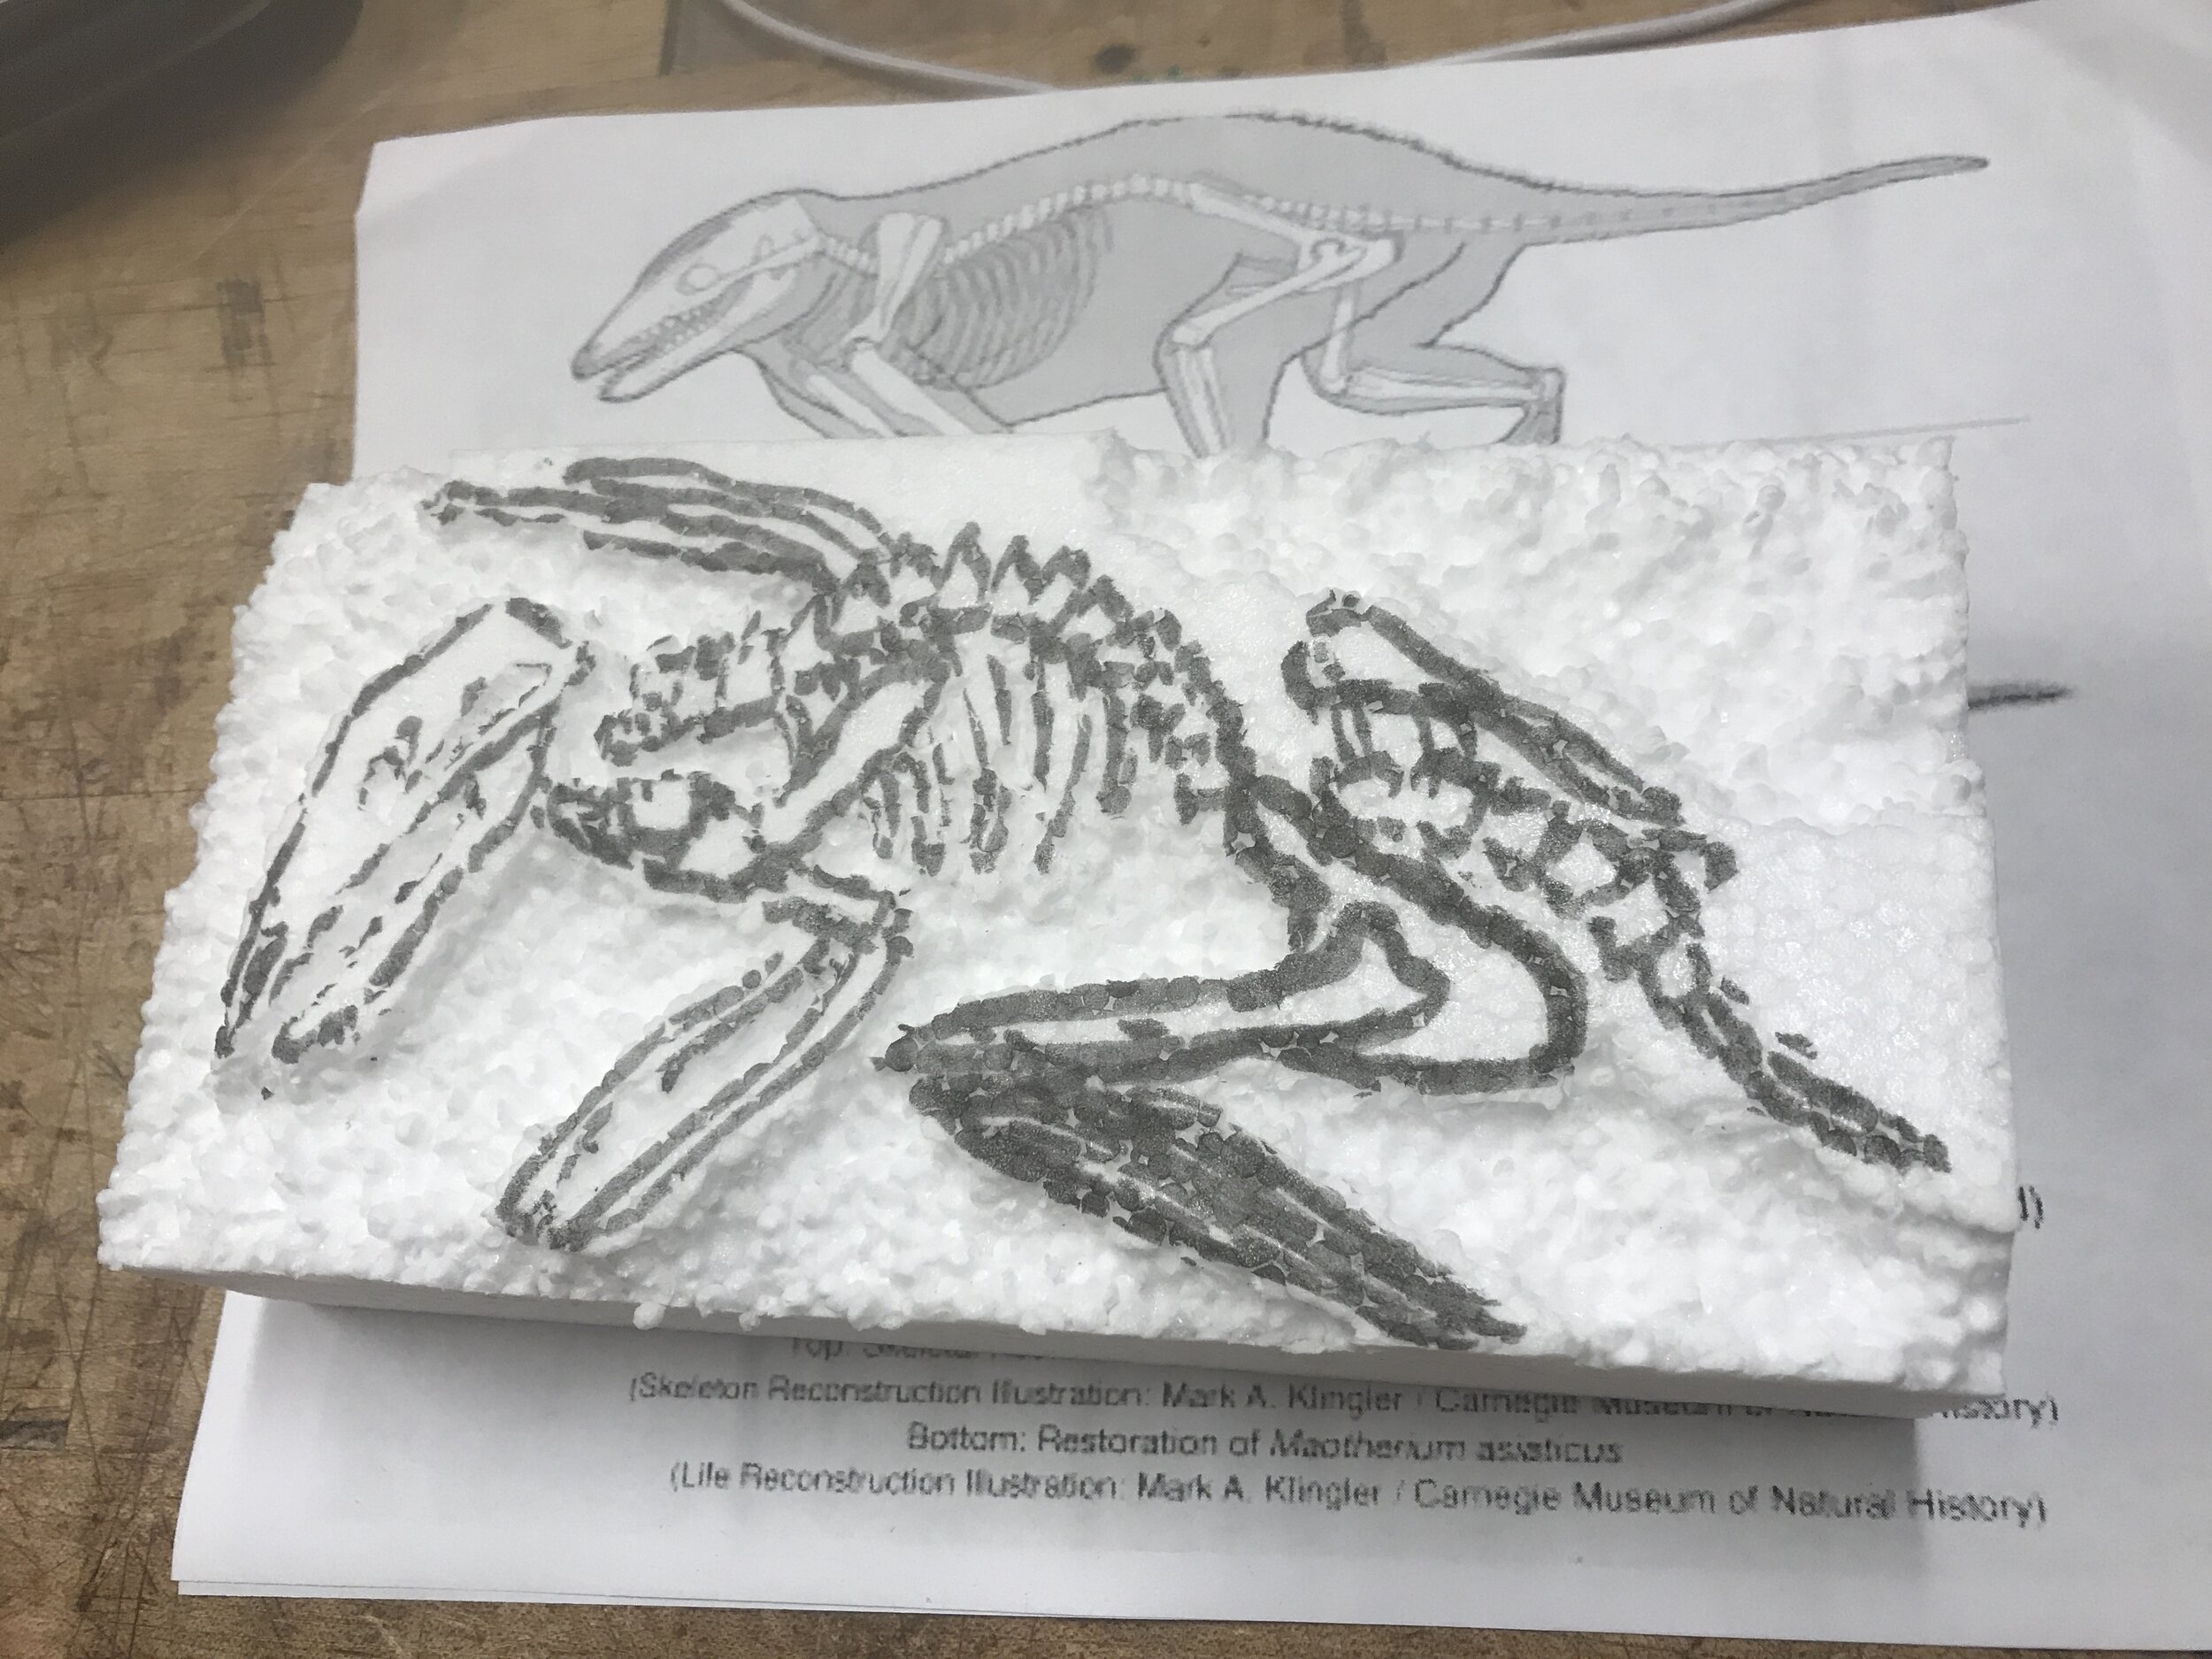
FOAM STACK ARRIVES!

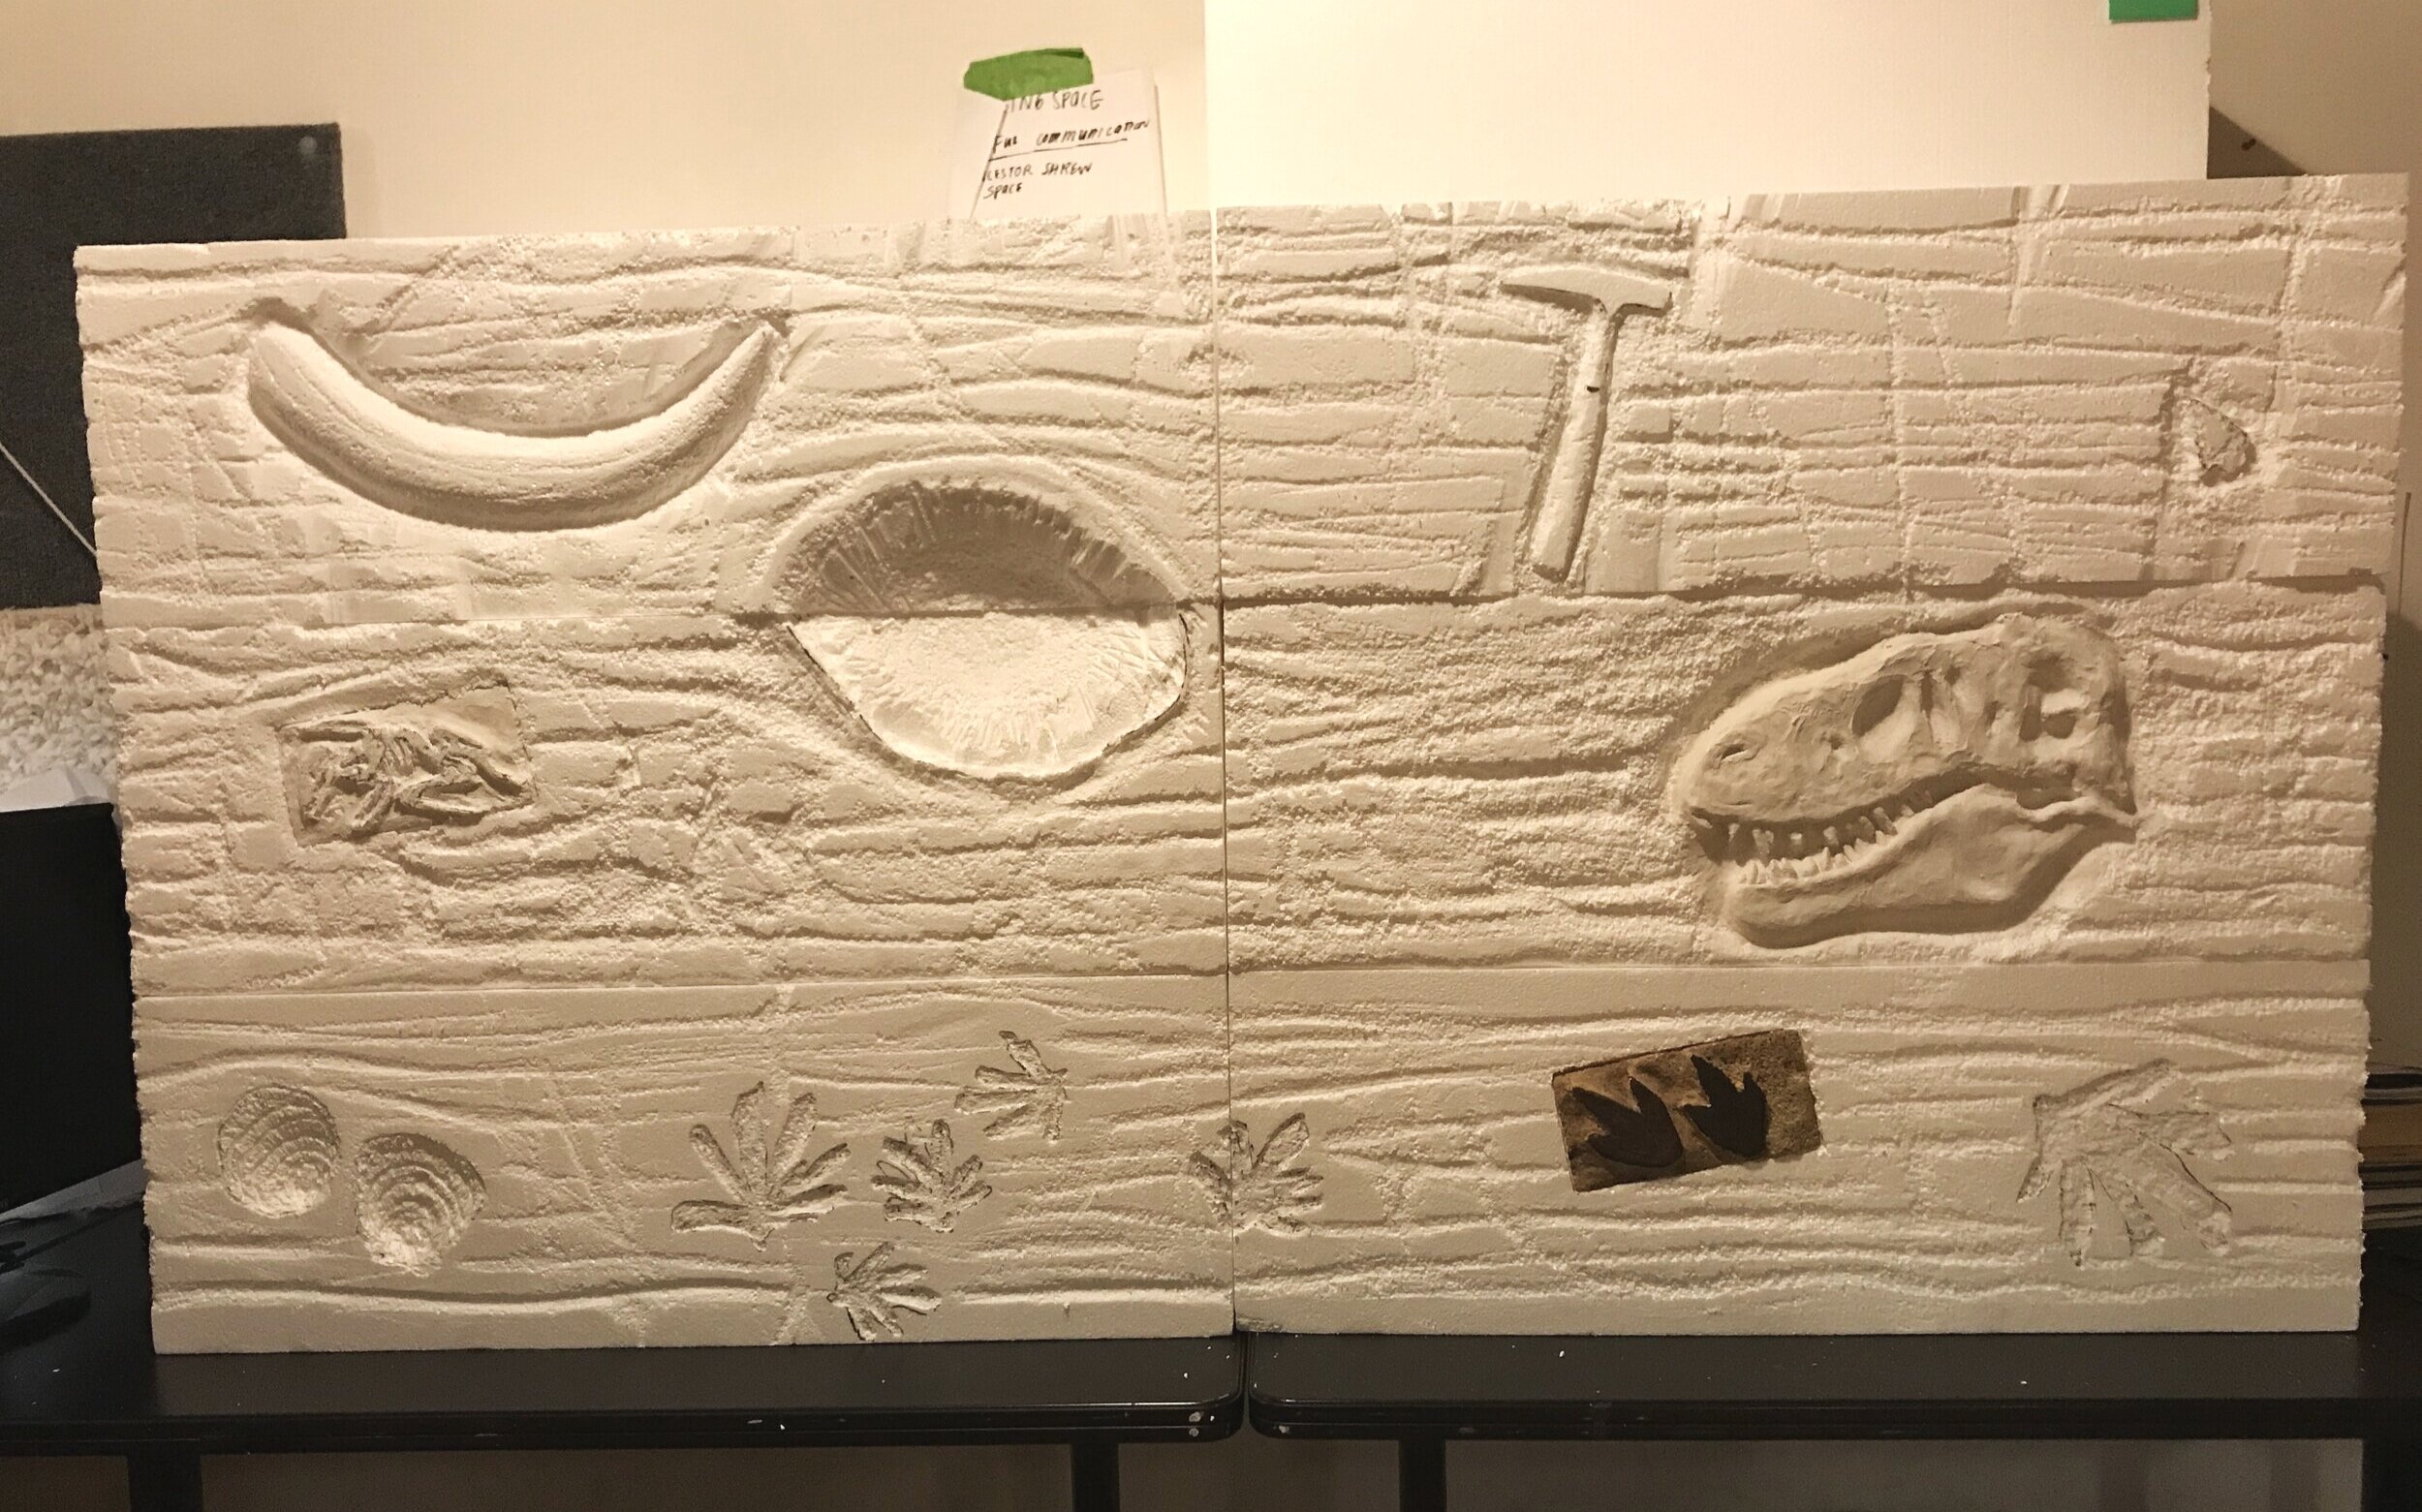
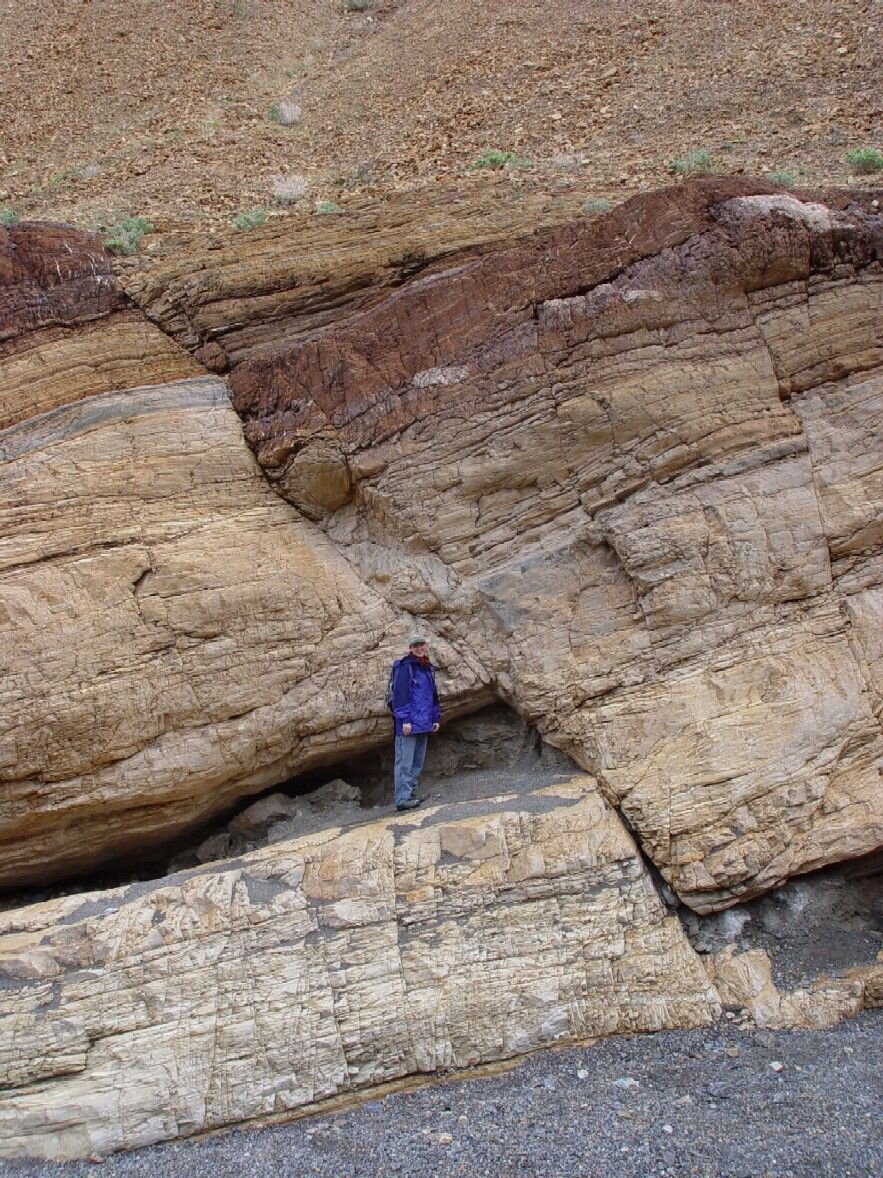
We made a sketches to plan out what objects to carve into the wall and which layers of Earth’s history to represent. We wanted to make sure that the layers were in the accurate order and that fossils or artifacts embedded in each one truly came from the time period we would be indicating. We projected a digital sketch onto the wall to get a sense of the sizing for each object.

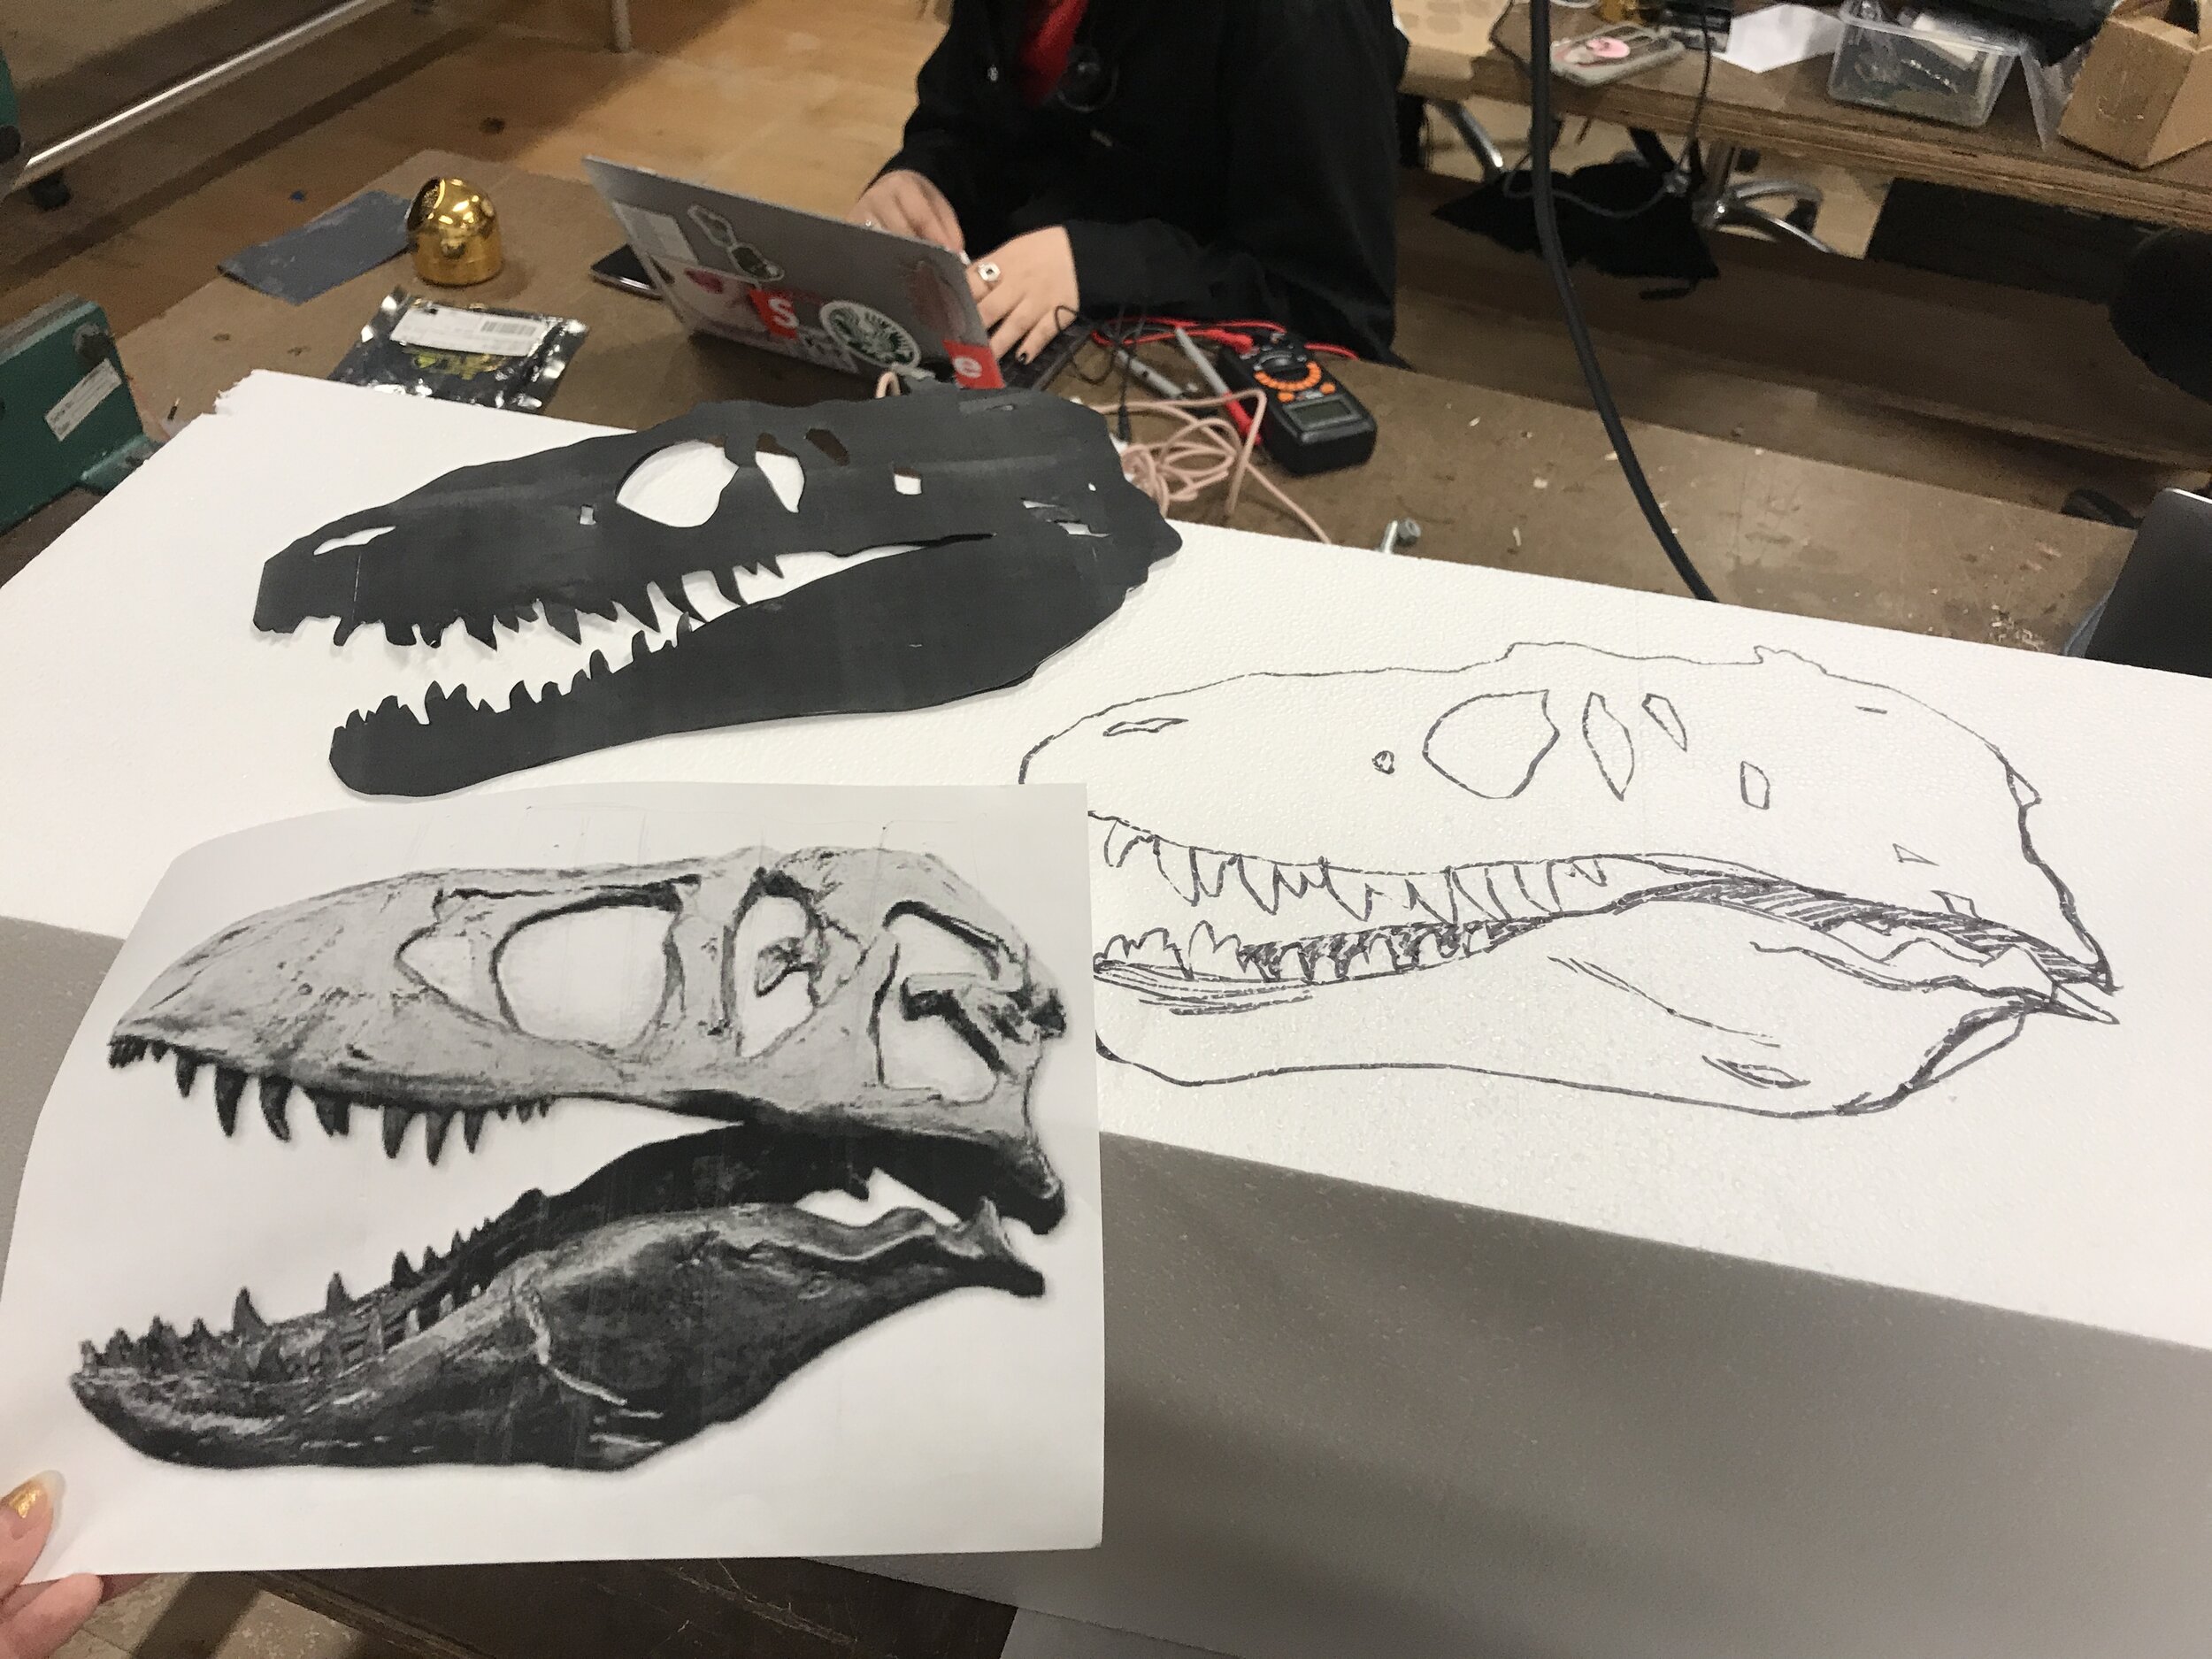
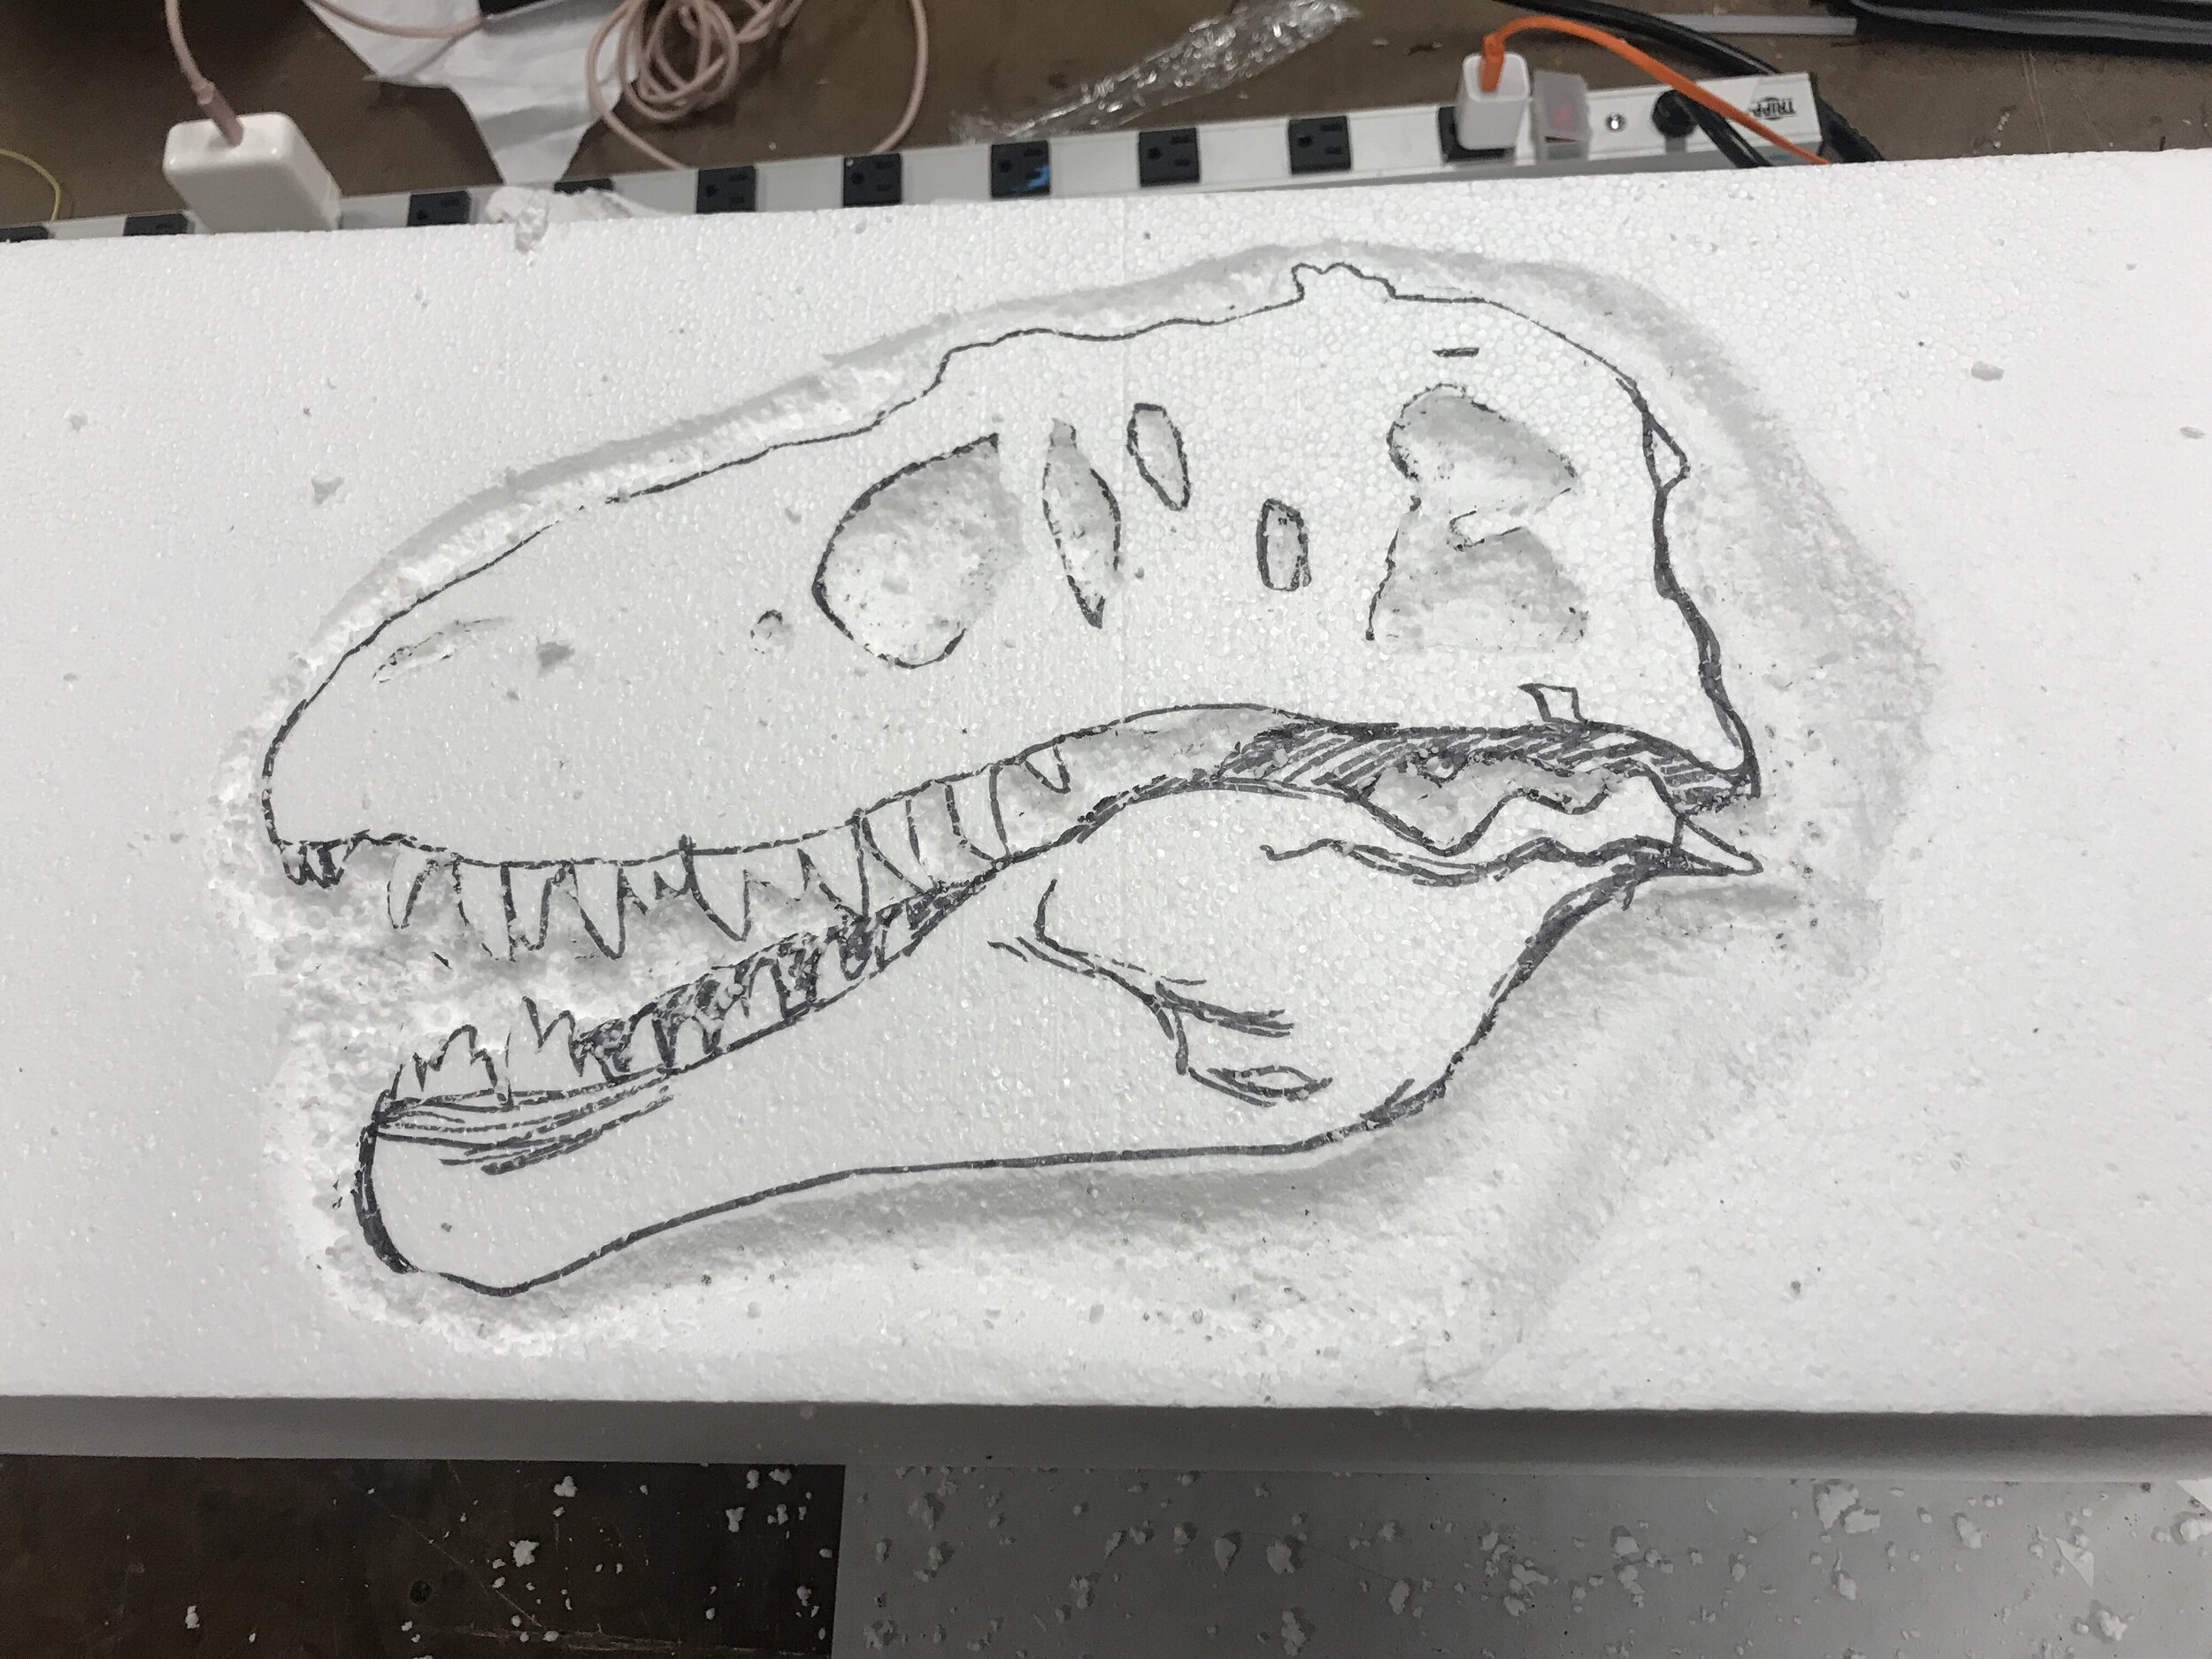
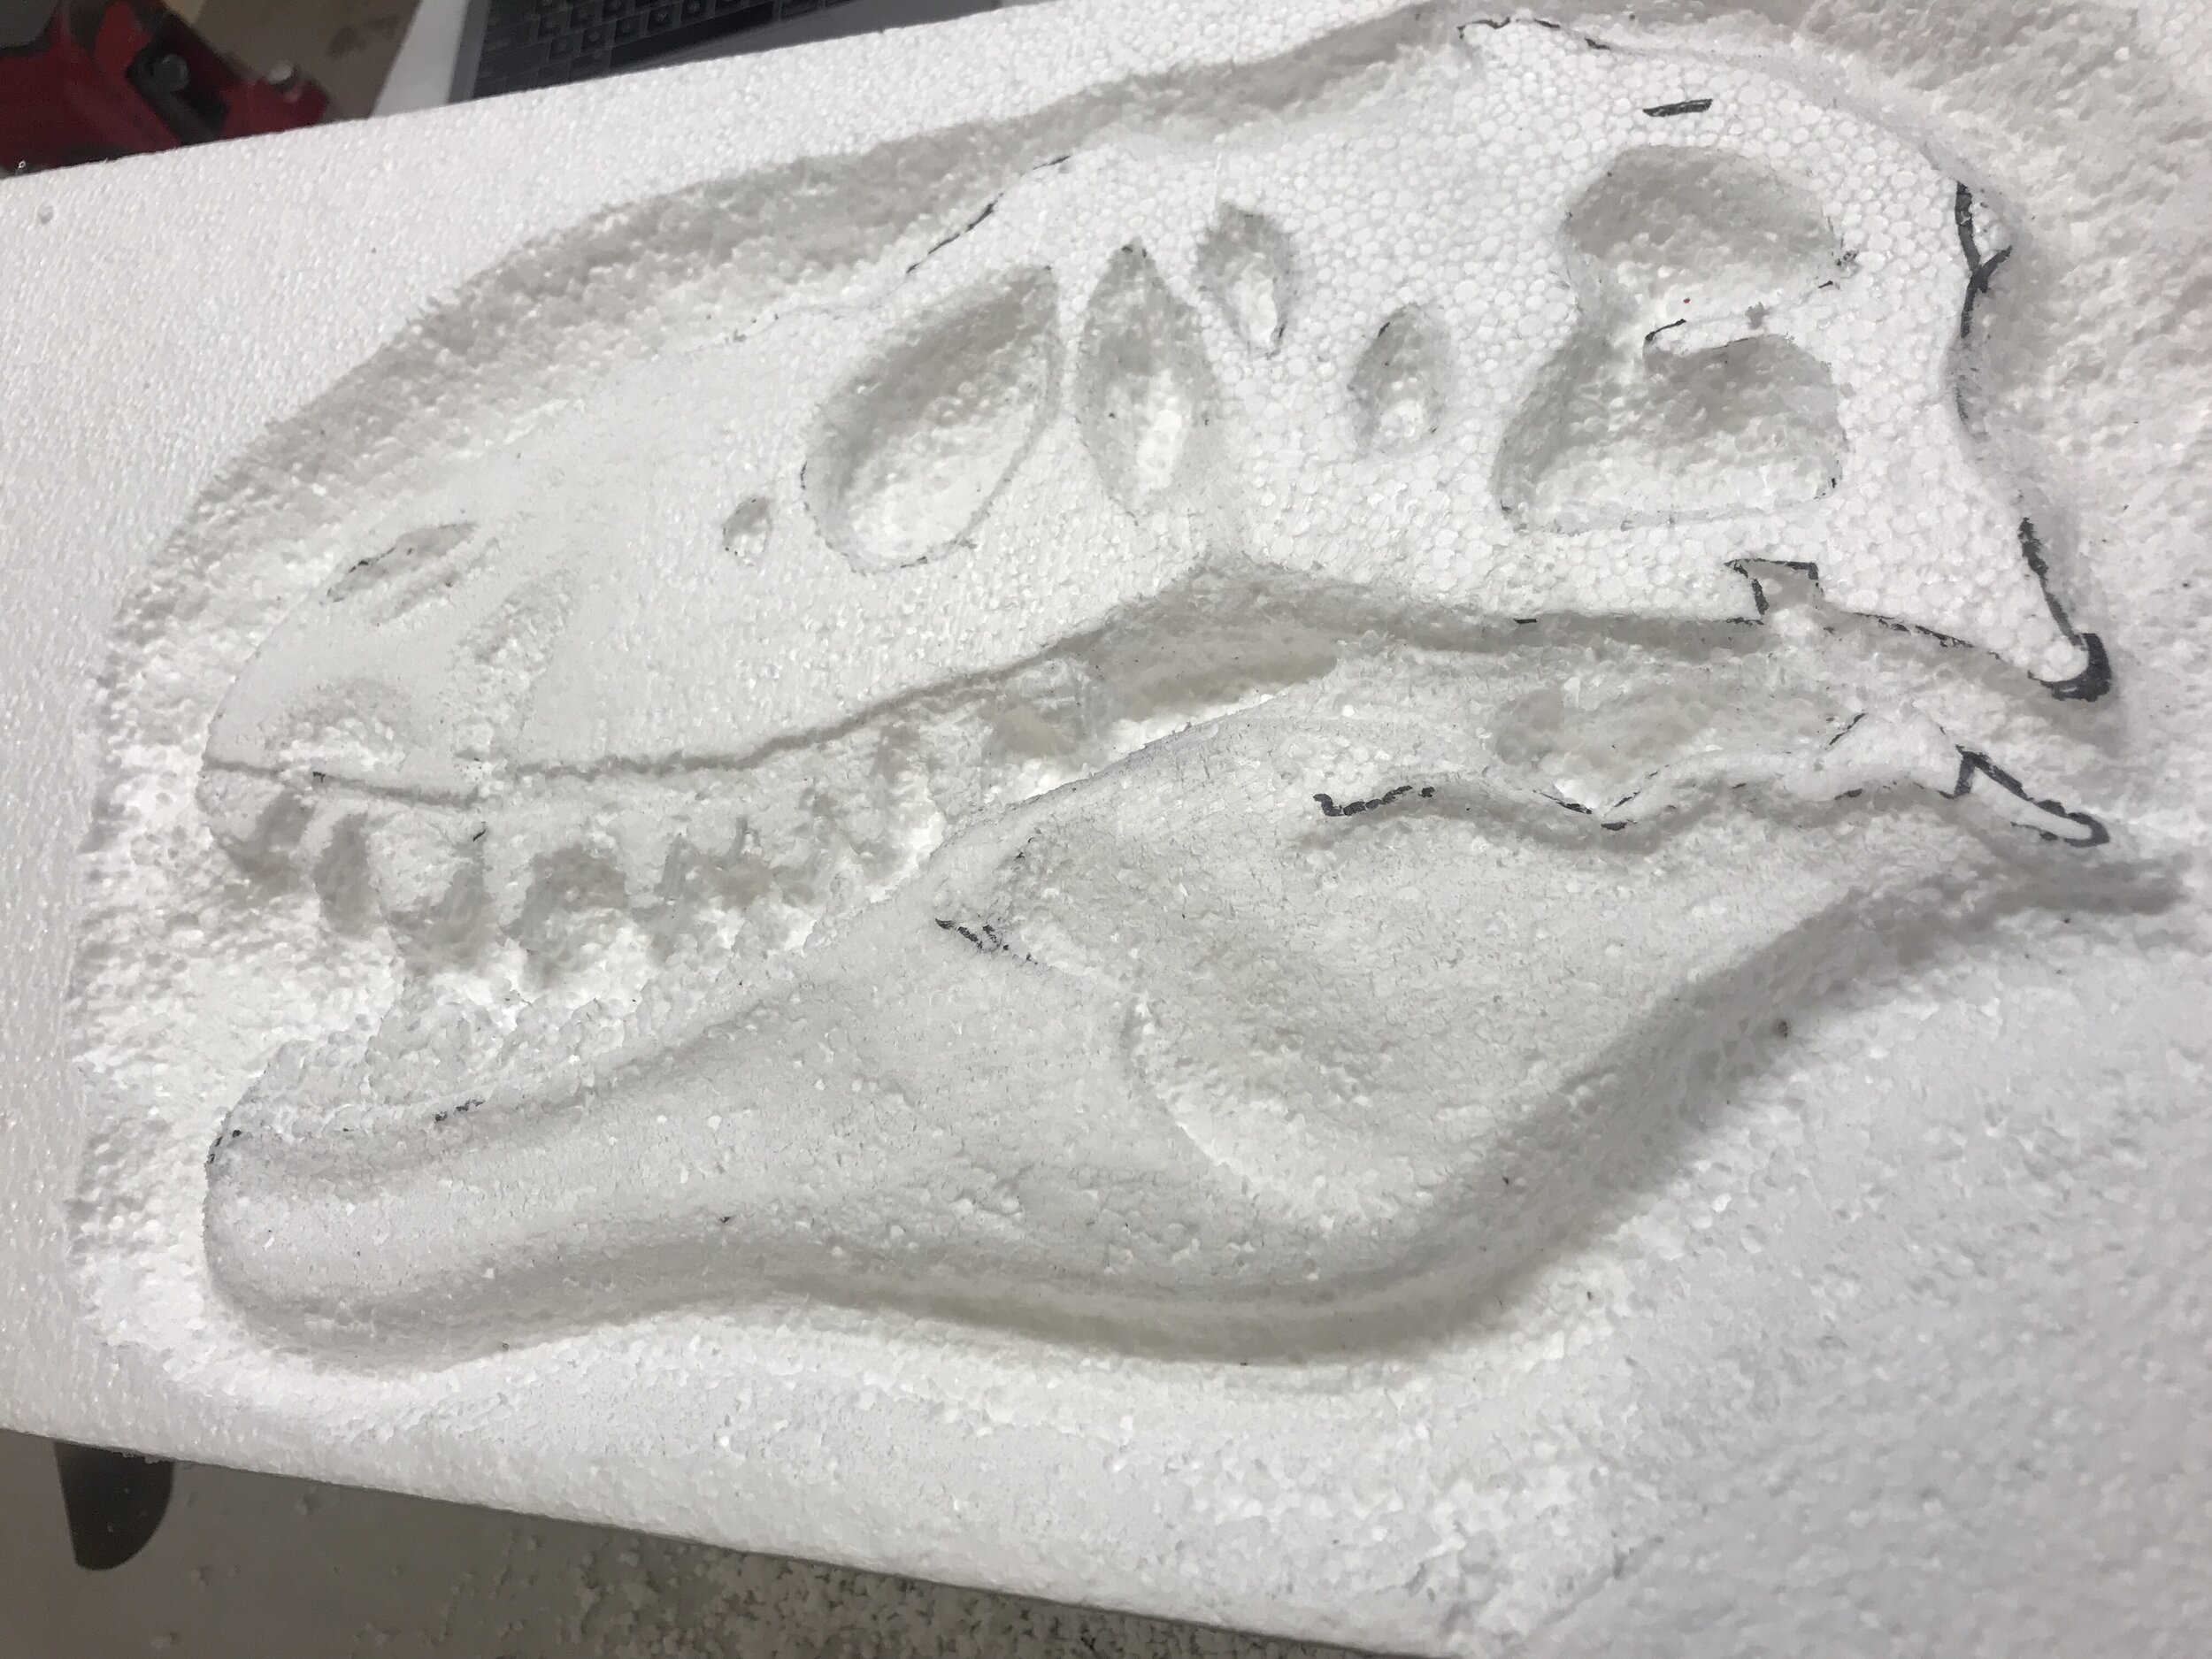
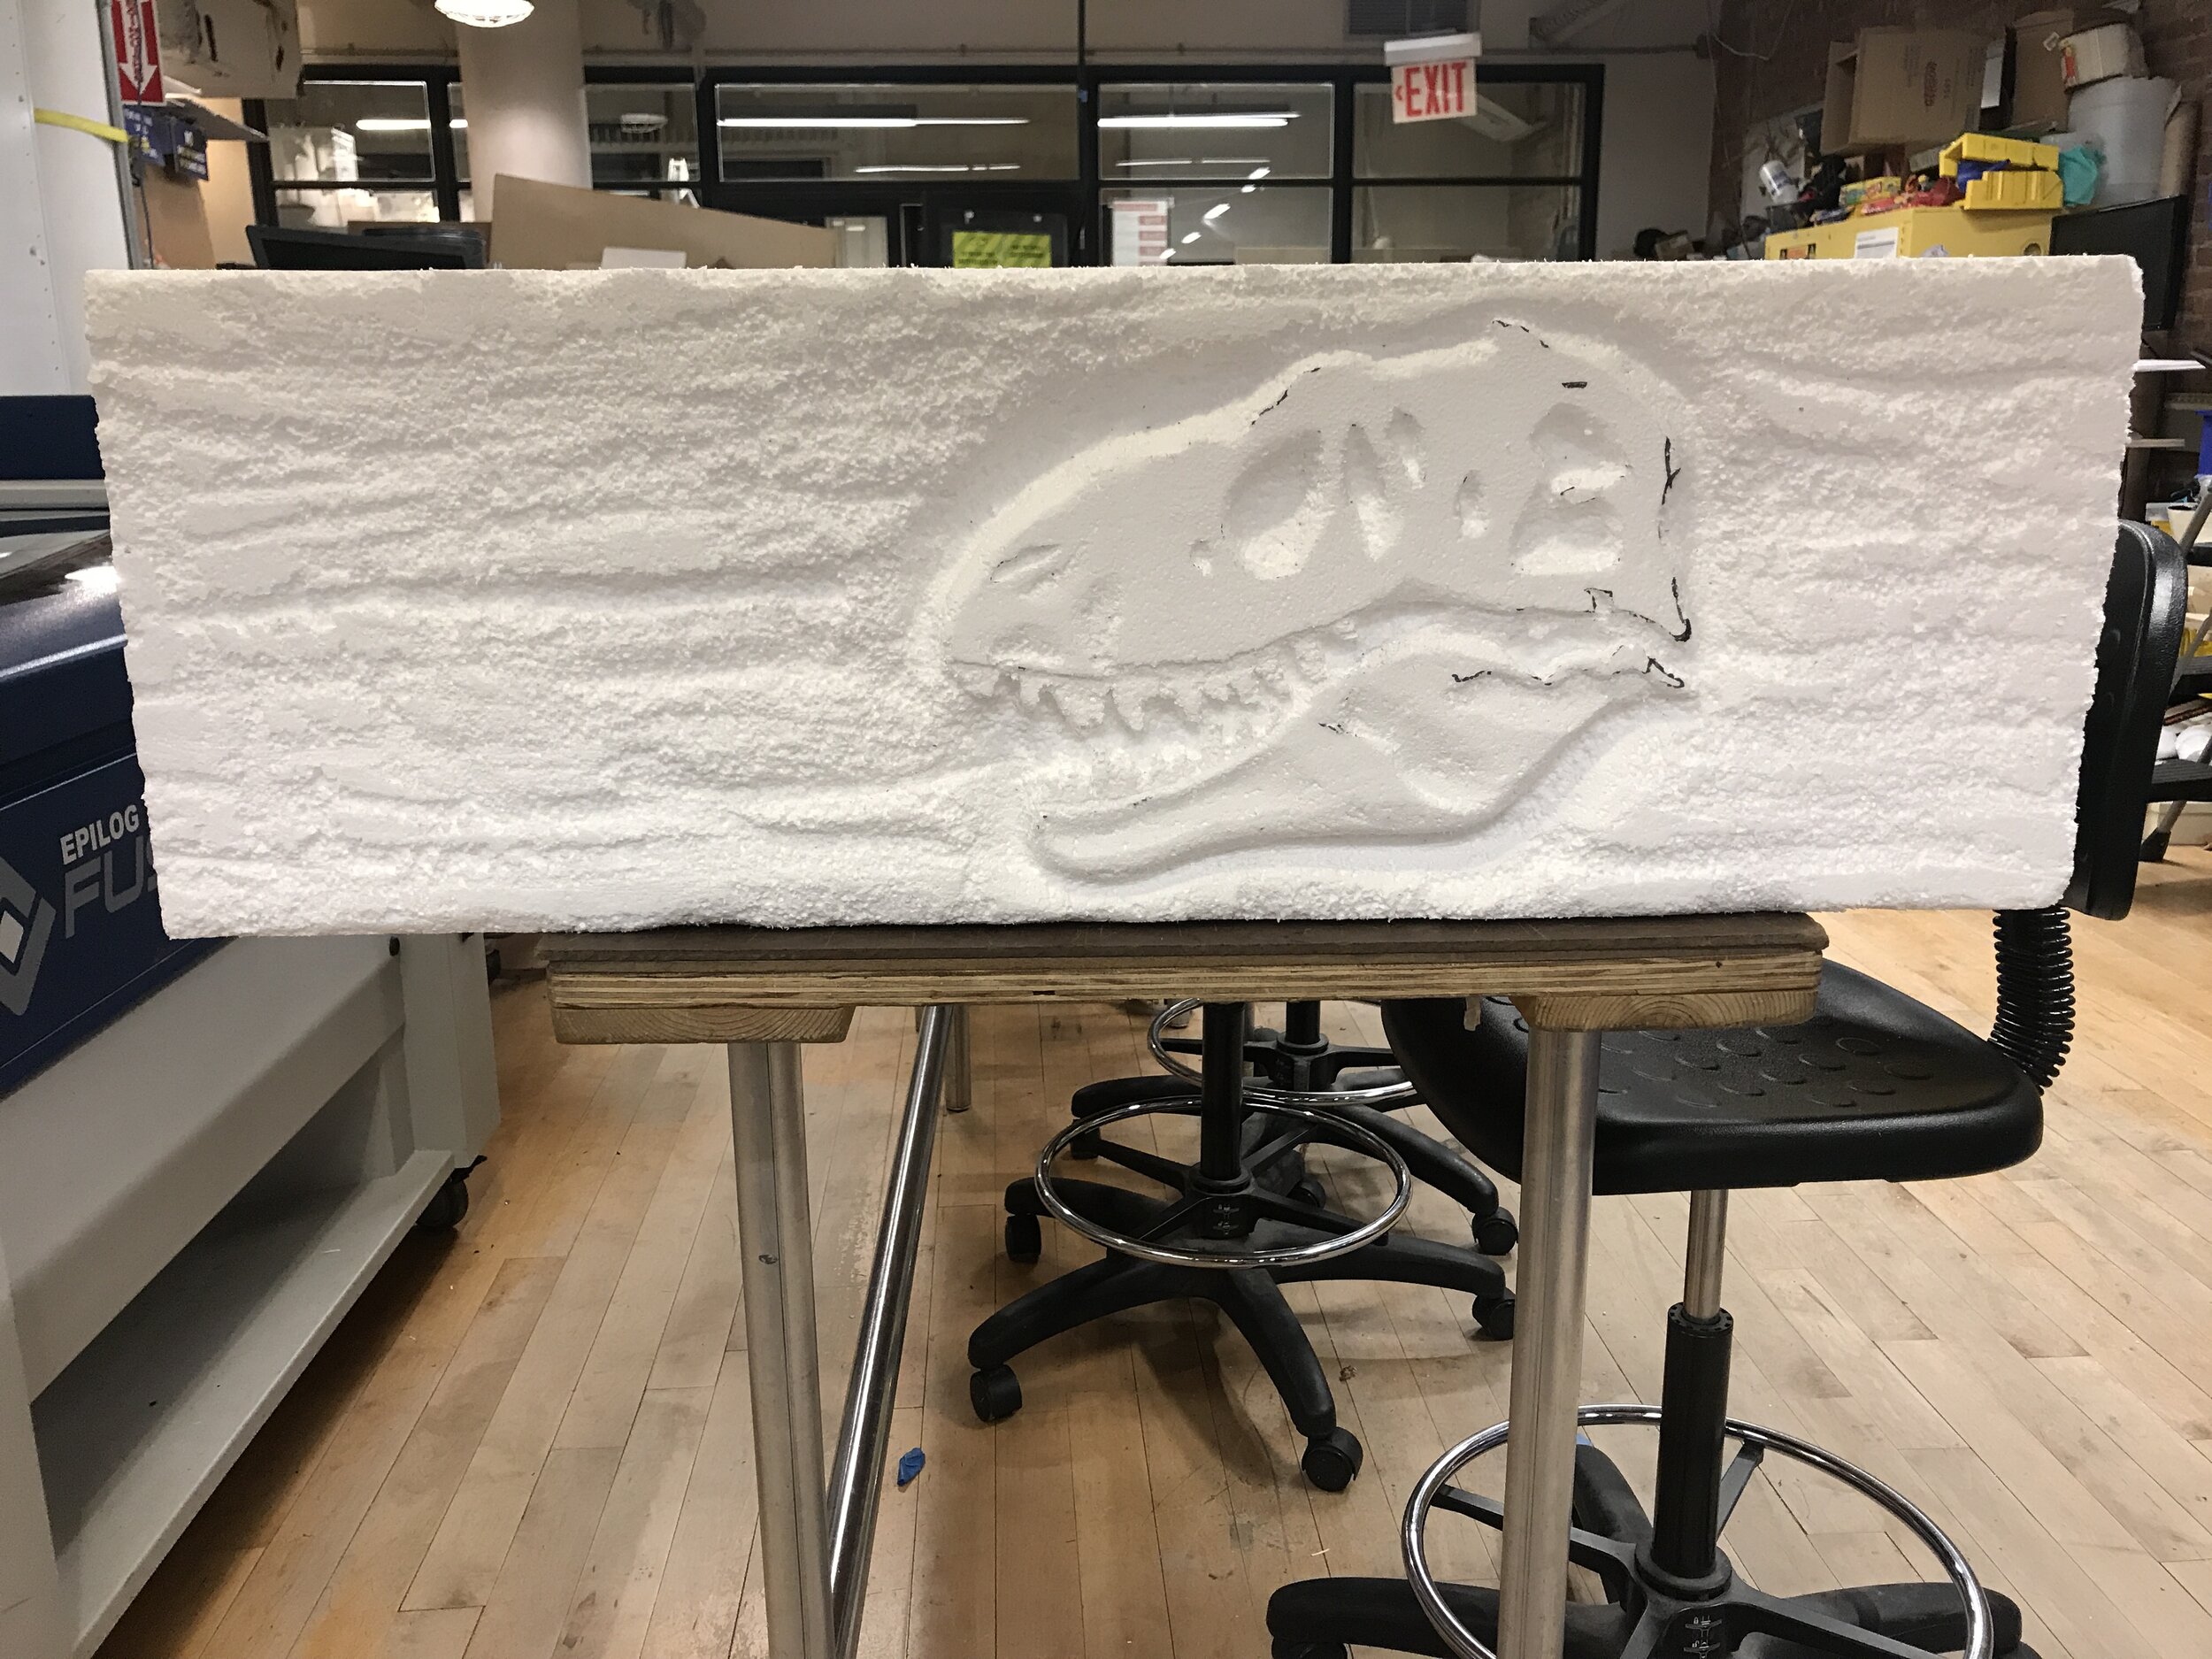
T-REX CARVING
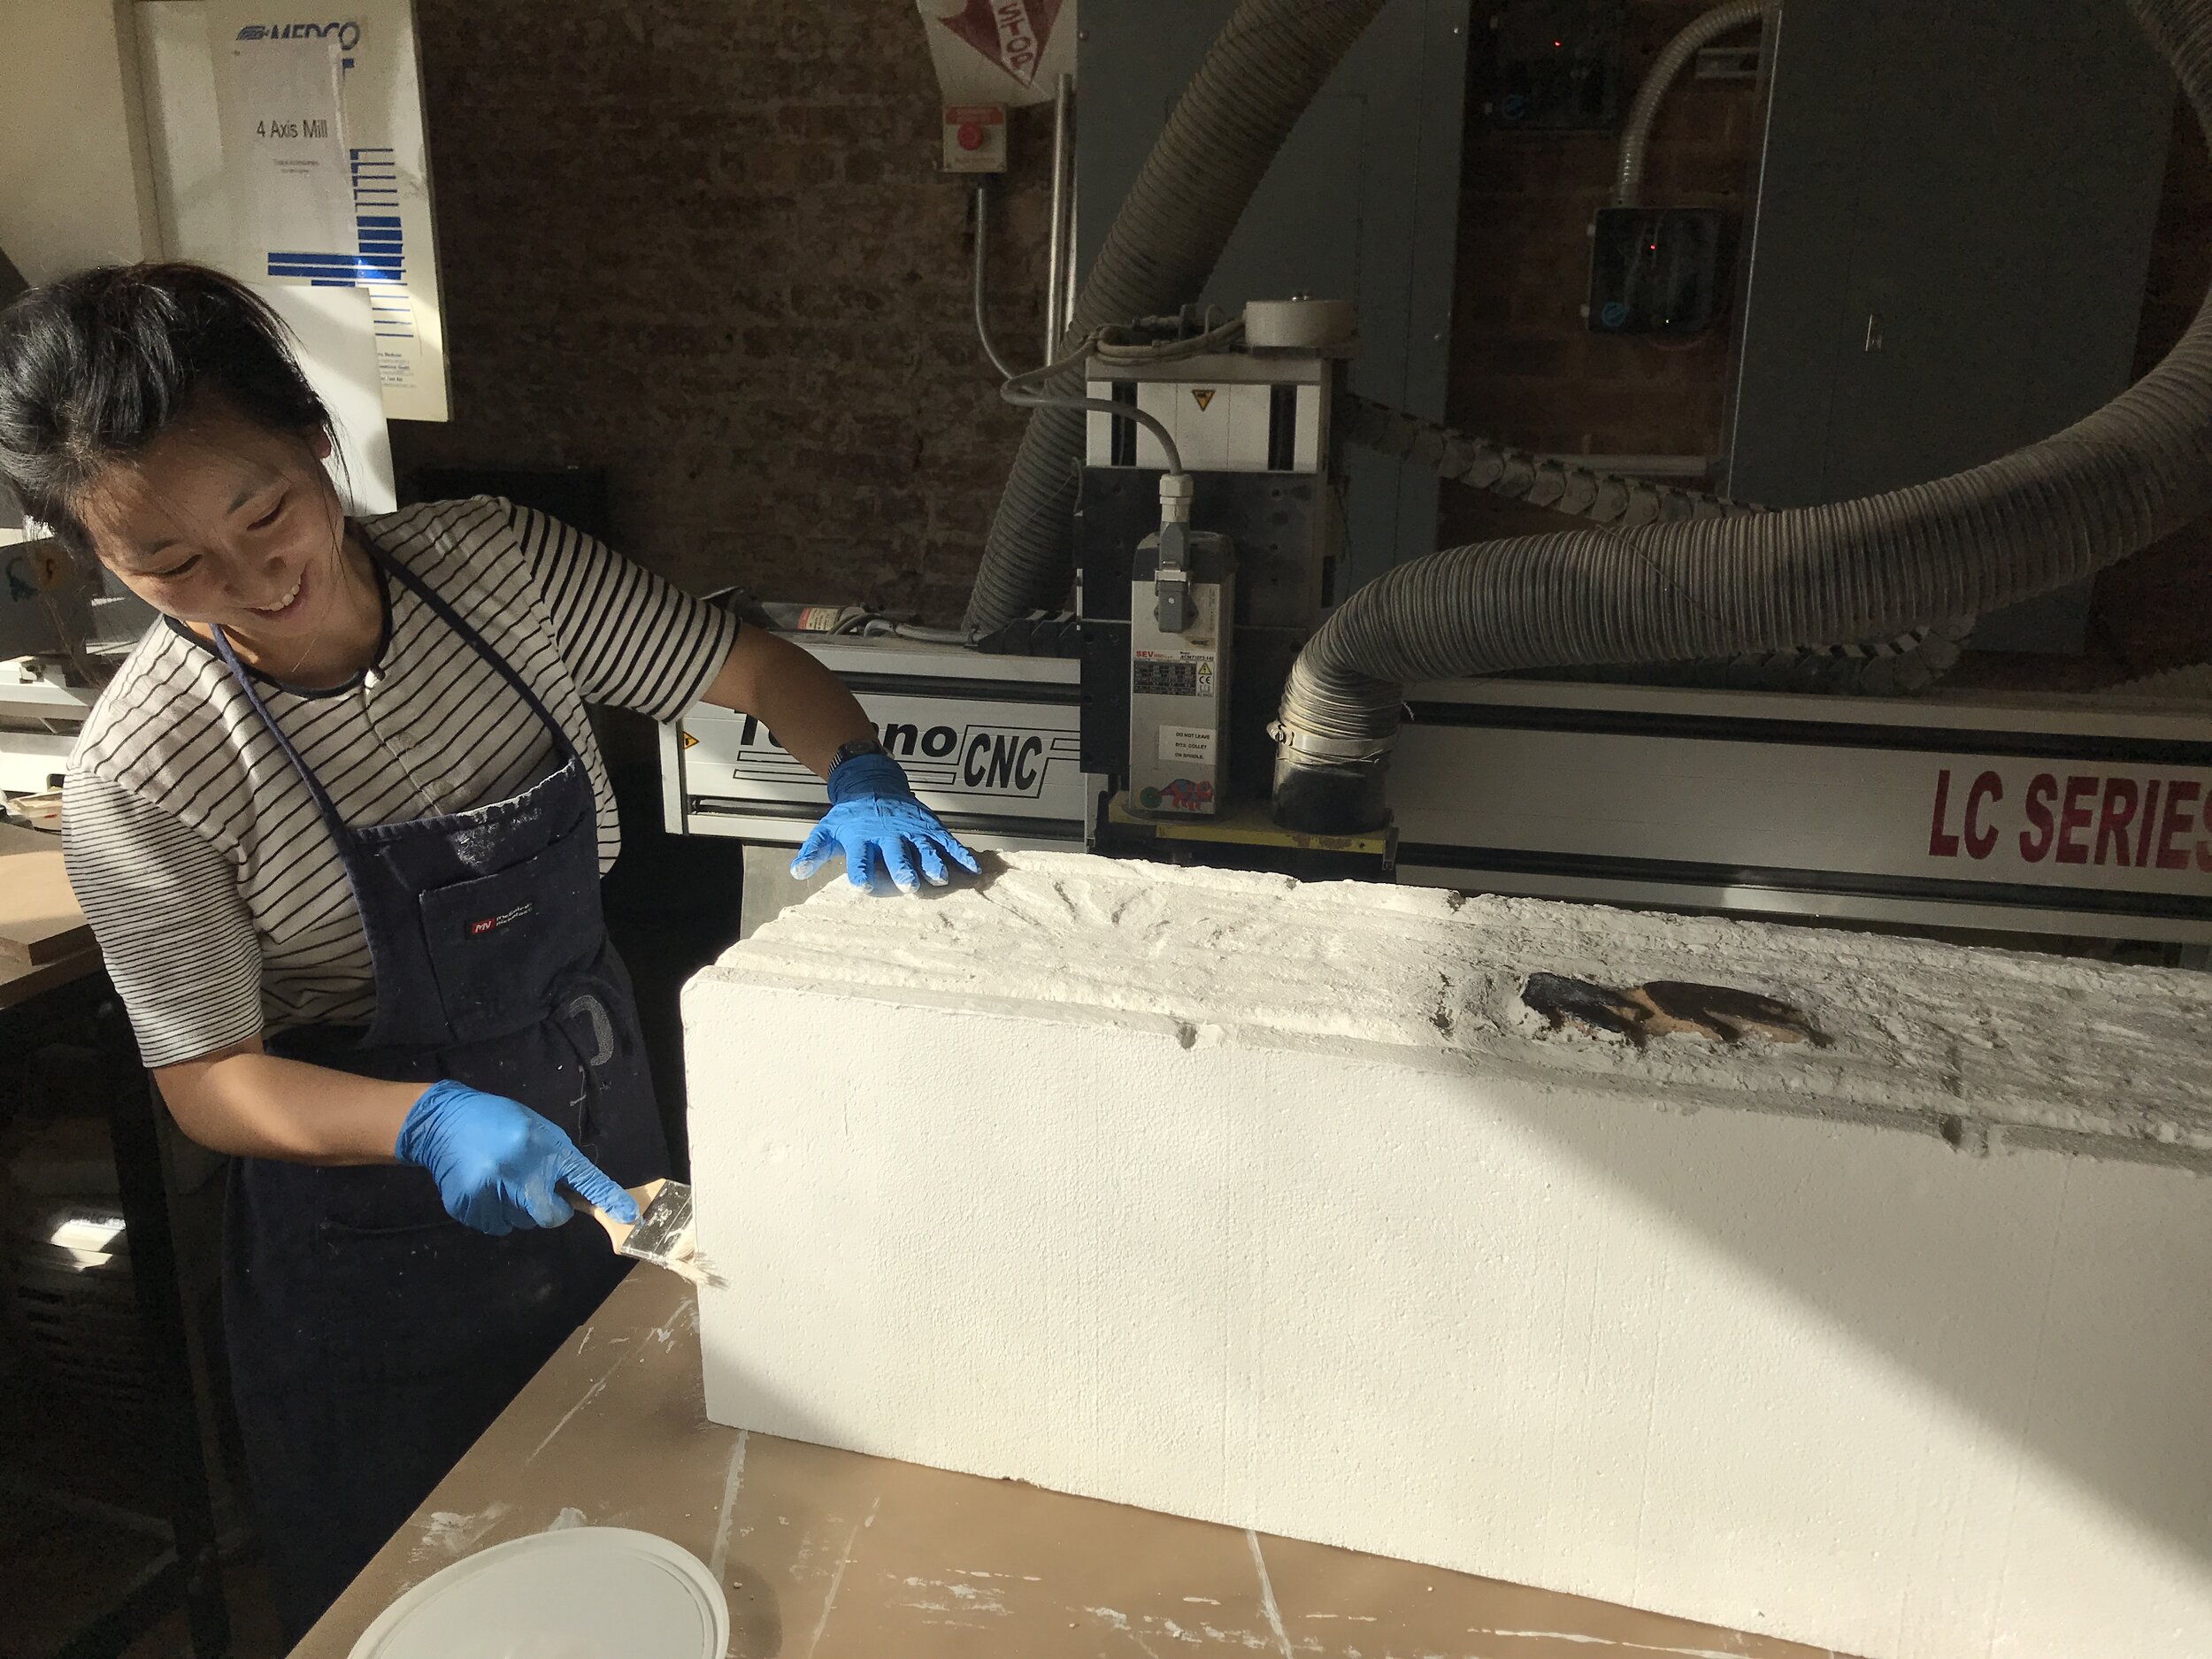
I started with the T-REX skull knowing it would be ambitious and wanted to get a head start. It demonstrates the carving process well. I began by sketching onto the foam. Then I carve away using box cutters, heated wire cutters, sandpaper, and even my hands. Once the carving is to my liking, I used Hot Wire Foam Factory all-purpose coating. This powder acts sort of like a cement once water is added, it covers the foam and dries hard, giving the foam durability and a very rock like texture.


VISUAL DESIGN
For one of the AR components we wanted to create a taxonomy tree to illustrate the lineage of the shrew that survived the extinction of the dinosaurs. All placental mammals descend from this ancestor. I created a traditional taxonomy tree but created animal silhouettes in the graphic style chosen by Emily. I envisioned the tree to grow from a fossil of the shrew on the wall and extend beyond the physical layers to illustrate that these create exist in our current geological time period.

Mammal taxonomy tree.
Designed by Maya Pruitt

The mammal tree appears in AR. This panel can be toggled on if users want to read more information.
Designed by Emily Lin.
AR TEST
Dylan used the dino feet that I carved as an AR object target. It gave us an idea of how a device’s camera would pick up the material and colors. This test also allowed us to play with the scale of the taxonomy tree.
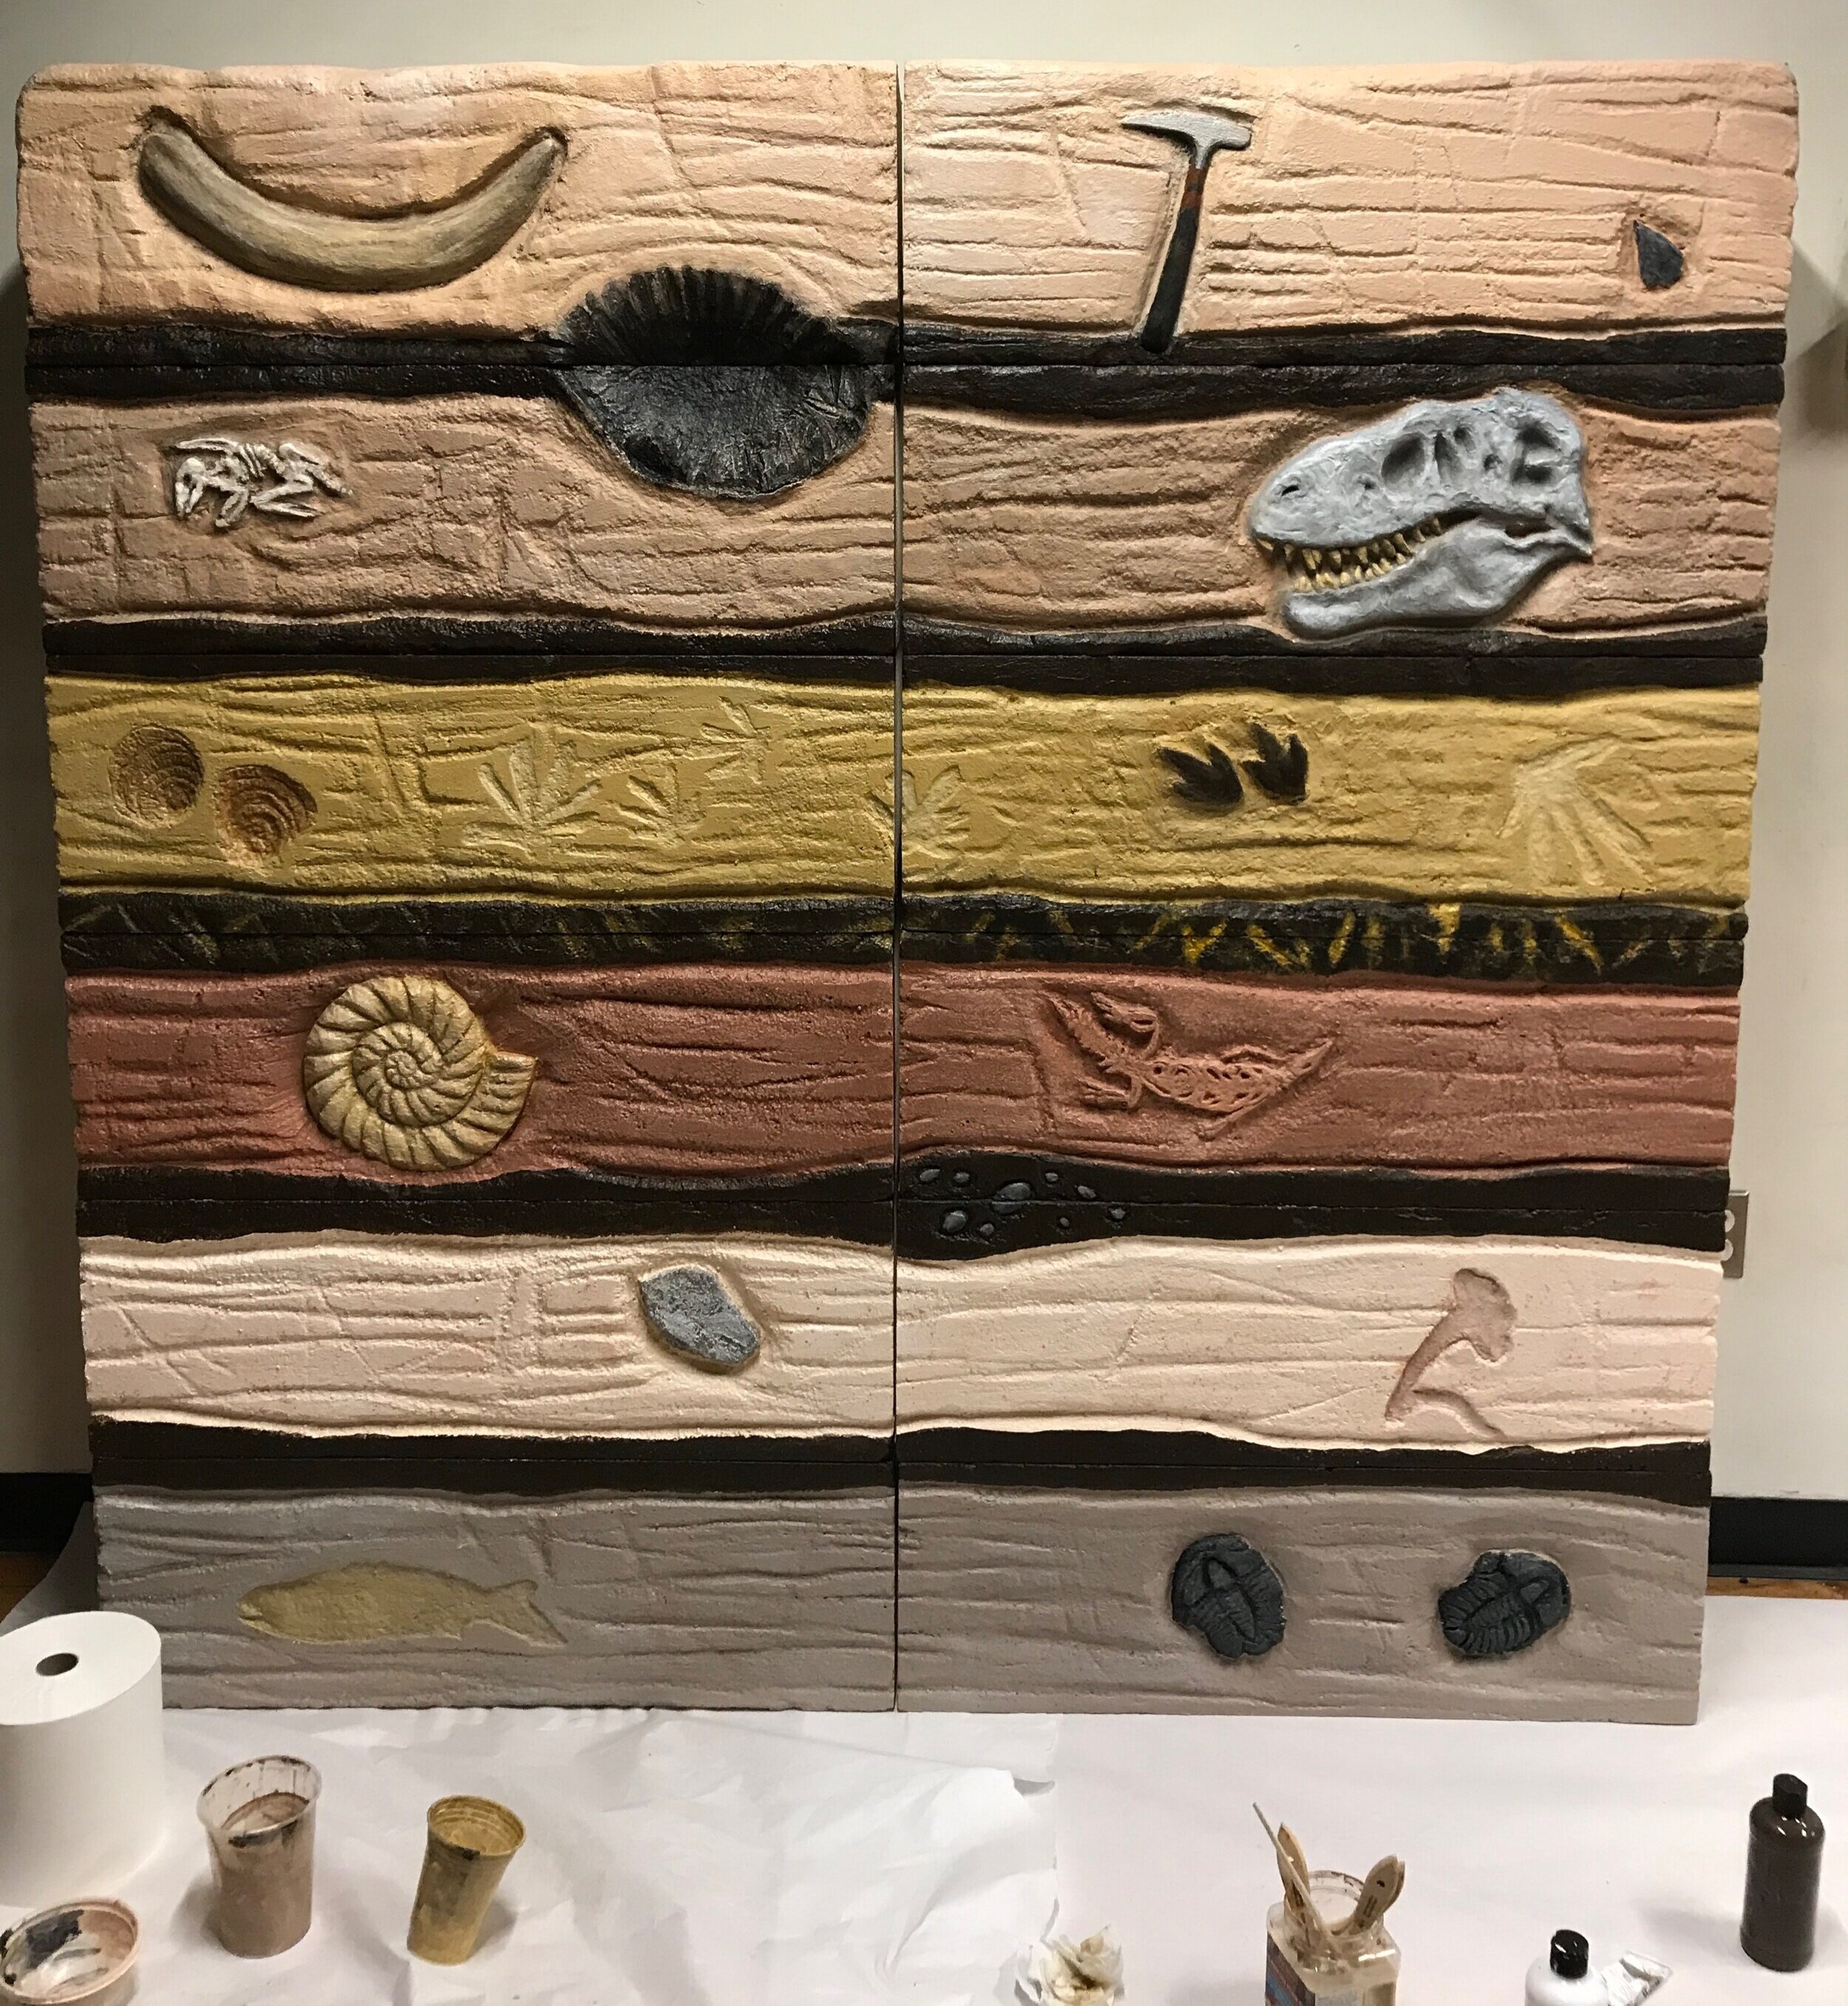
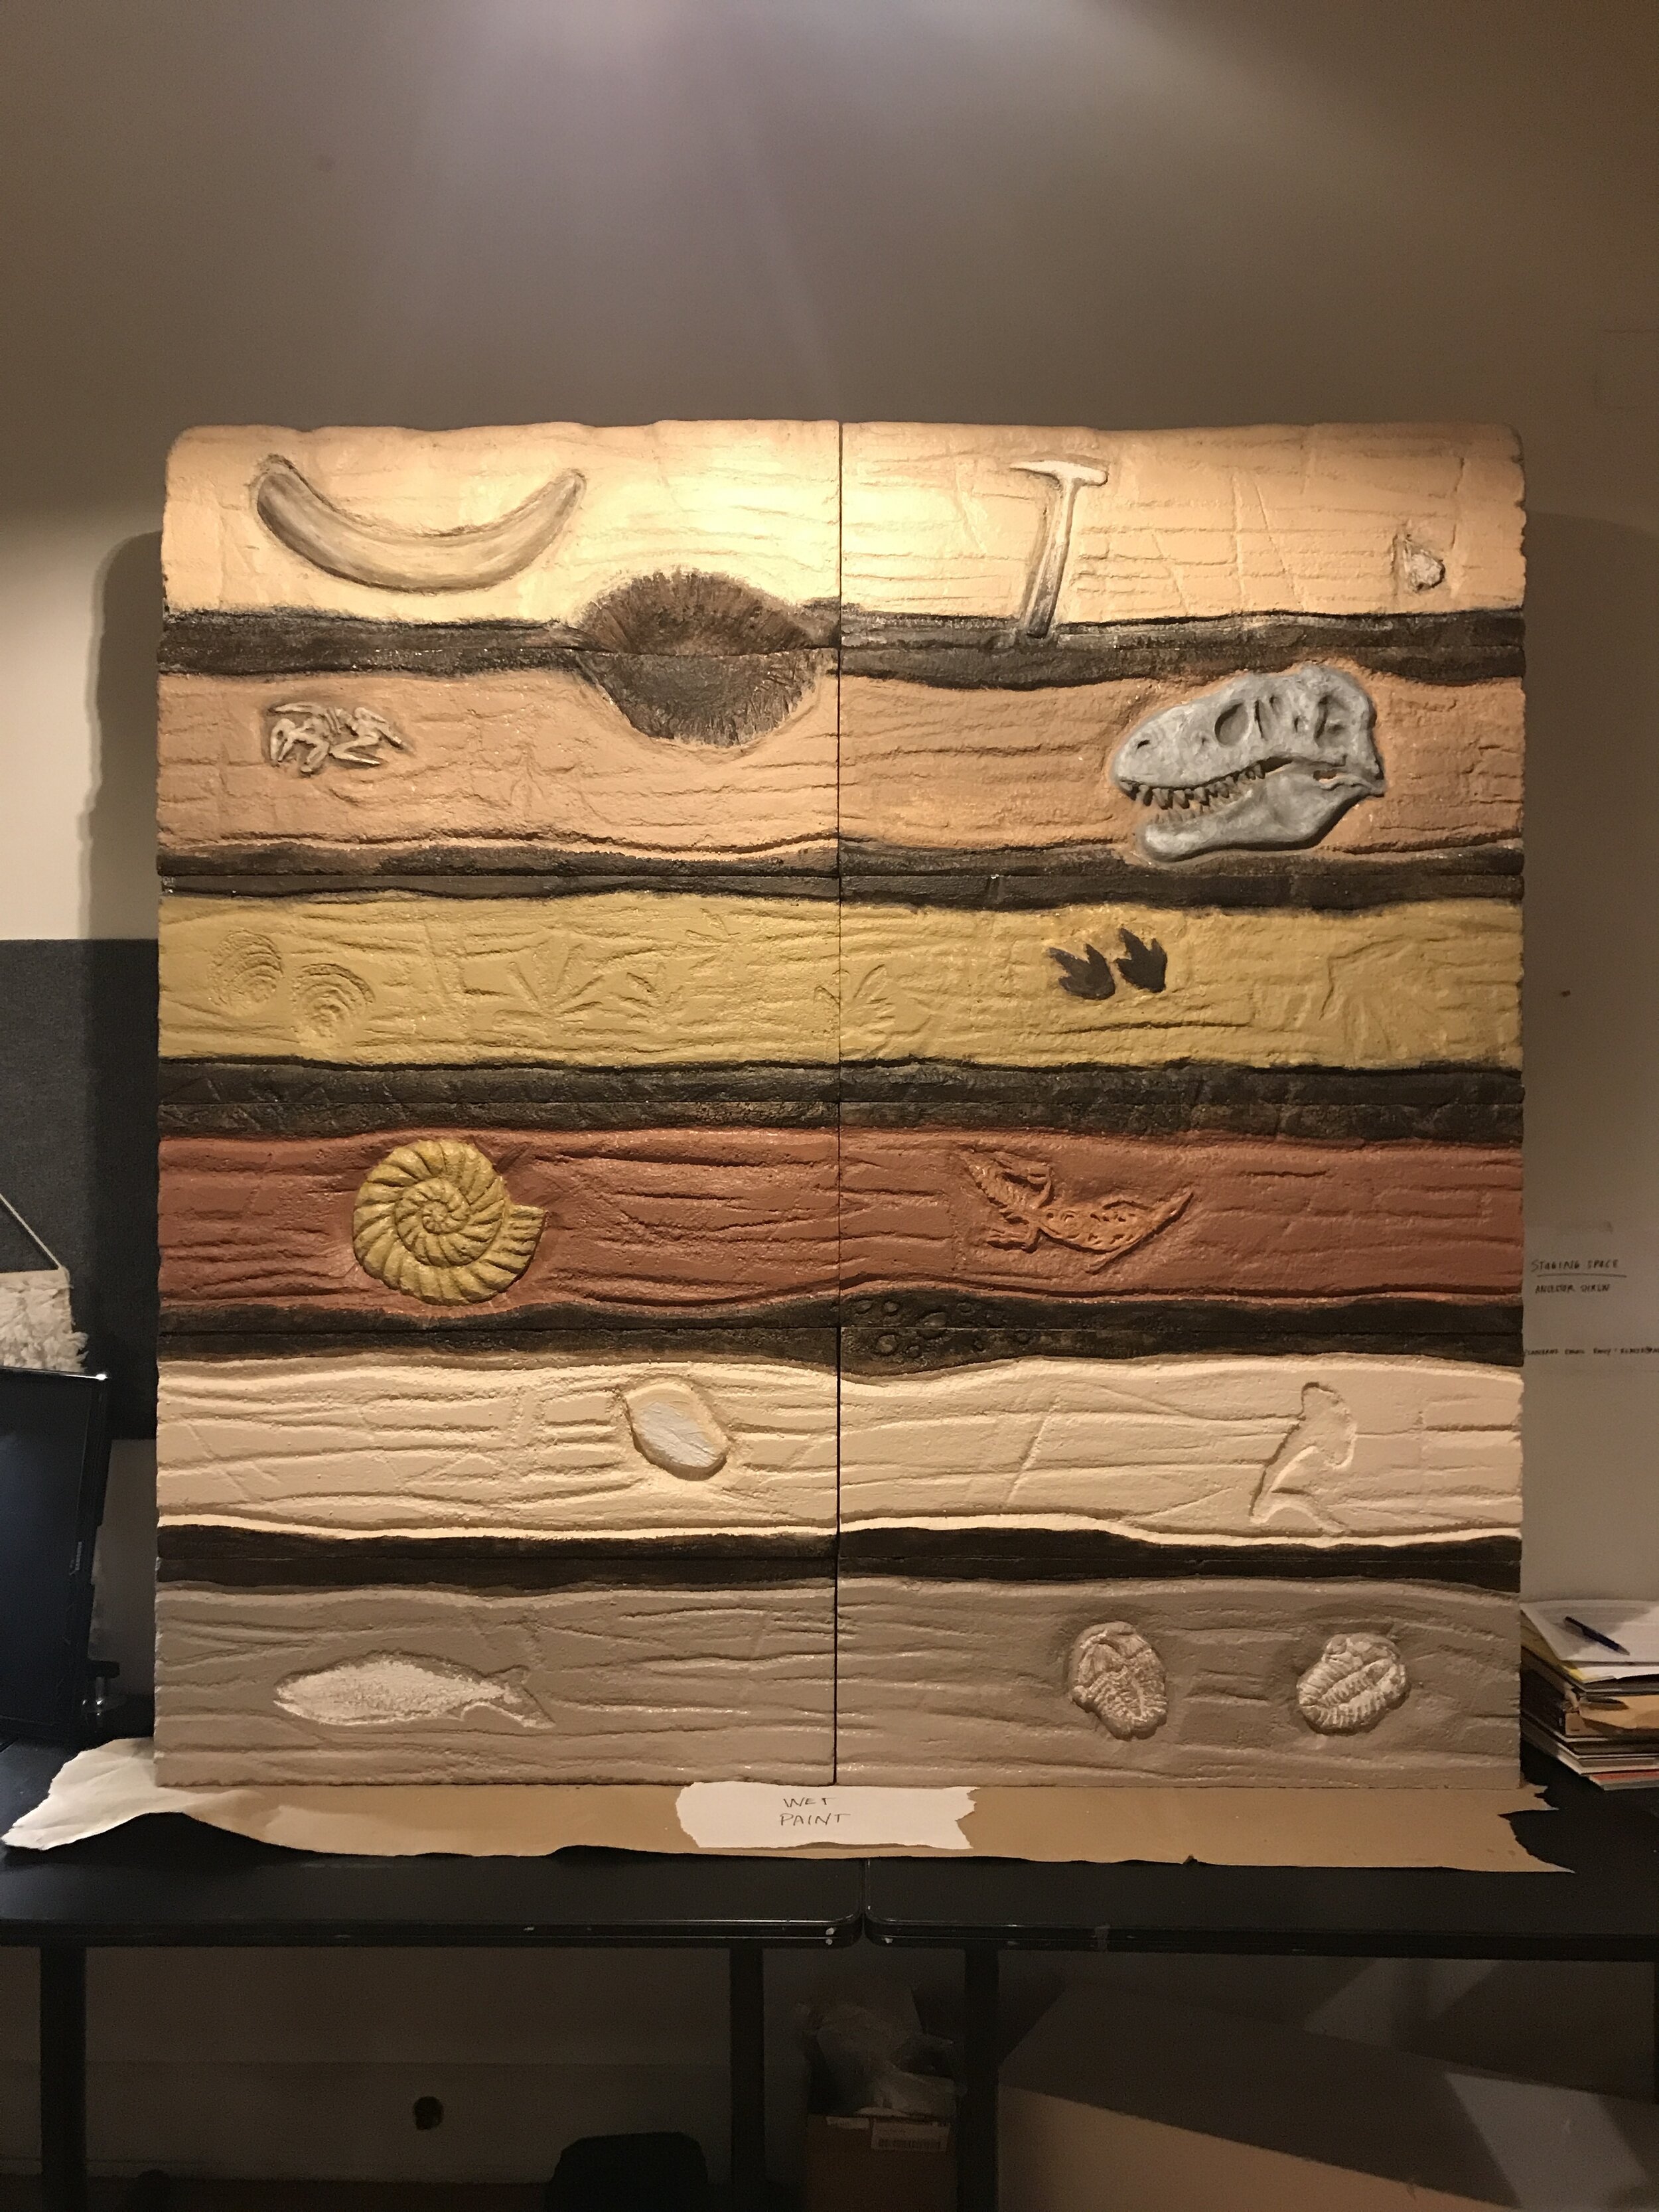
FINAL TOUCHES
Documented here are more photos of the wall over time. Every item was hand carved as well as the wall texture itself. Not all objects embedded in the wall would become object targets, but we wanted them to have just as much detail so users could not tell the difference. This would encourage more of a searching action and was meant to mimic that scientists will not find all the answers right away.
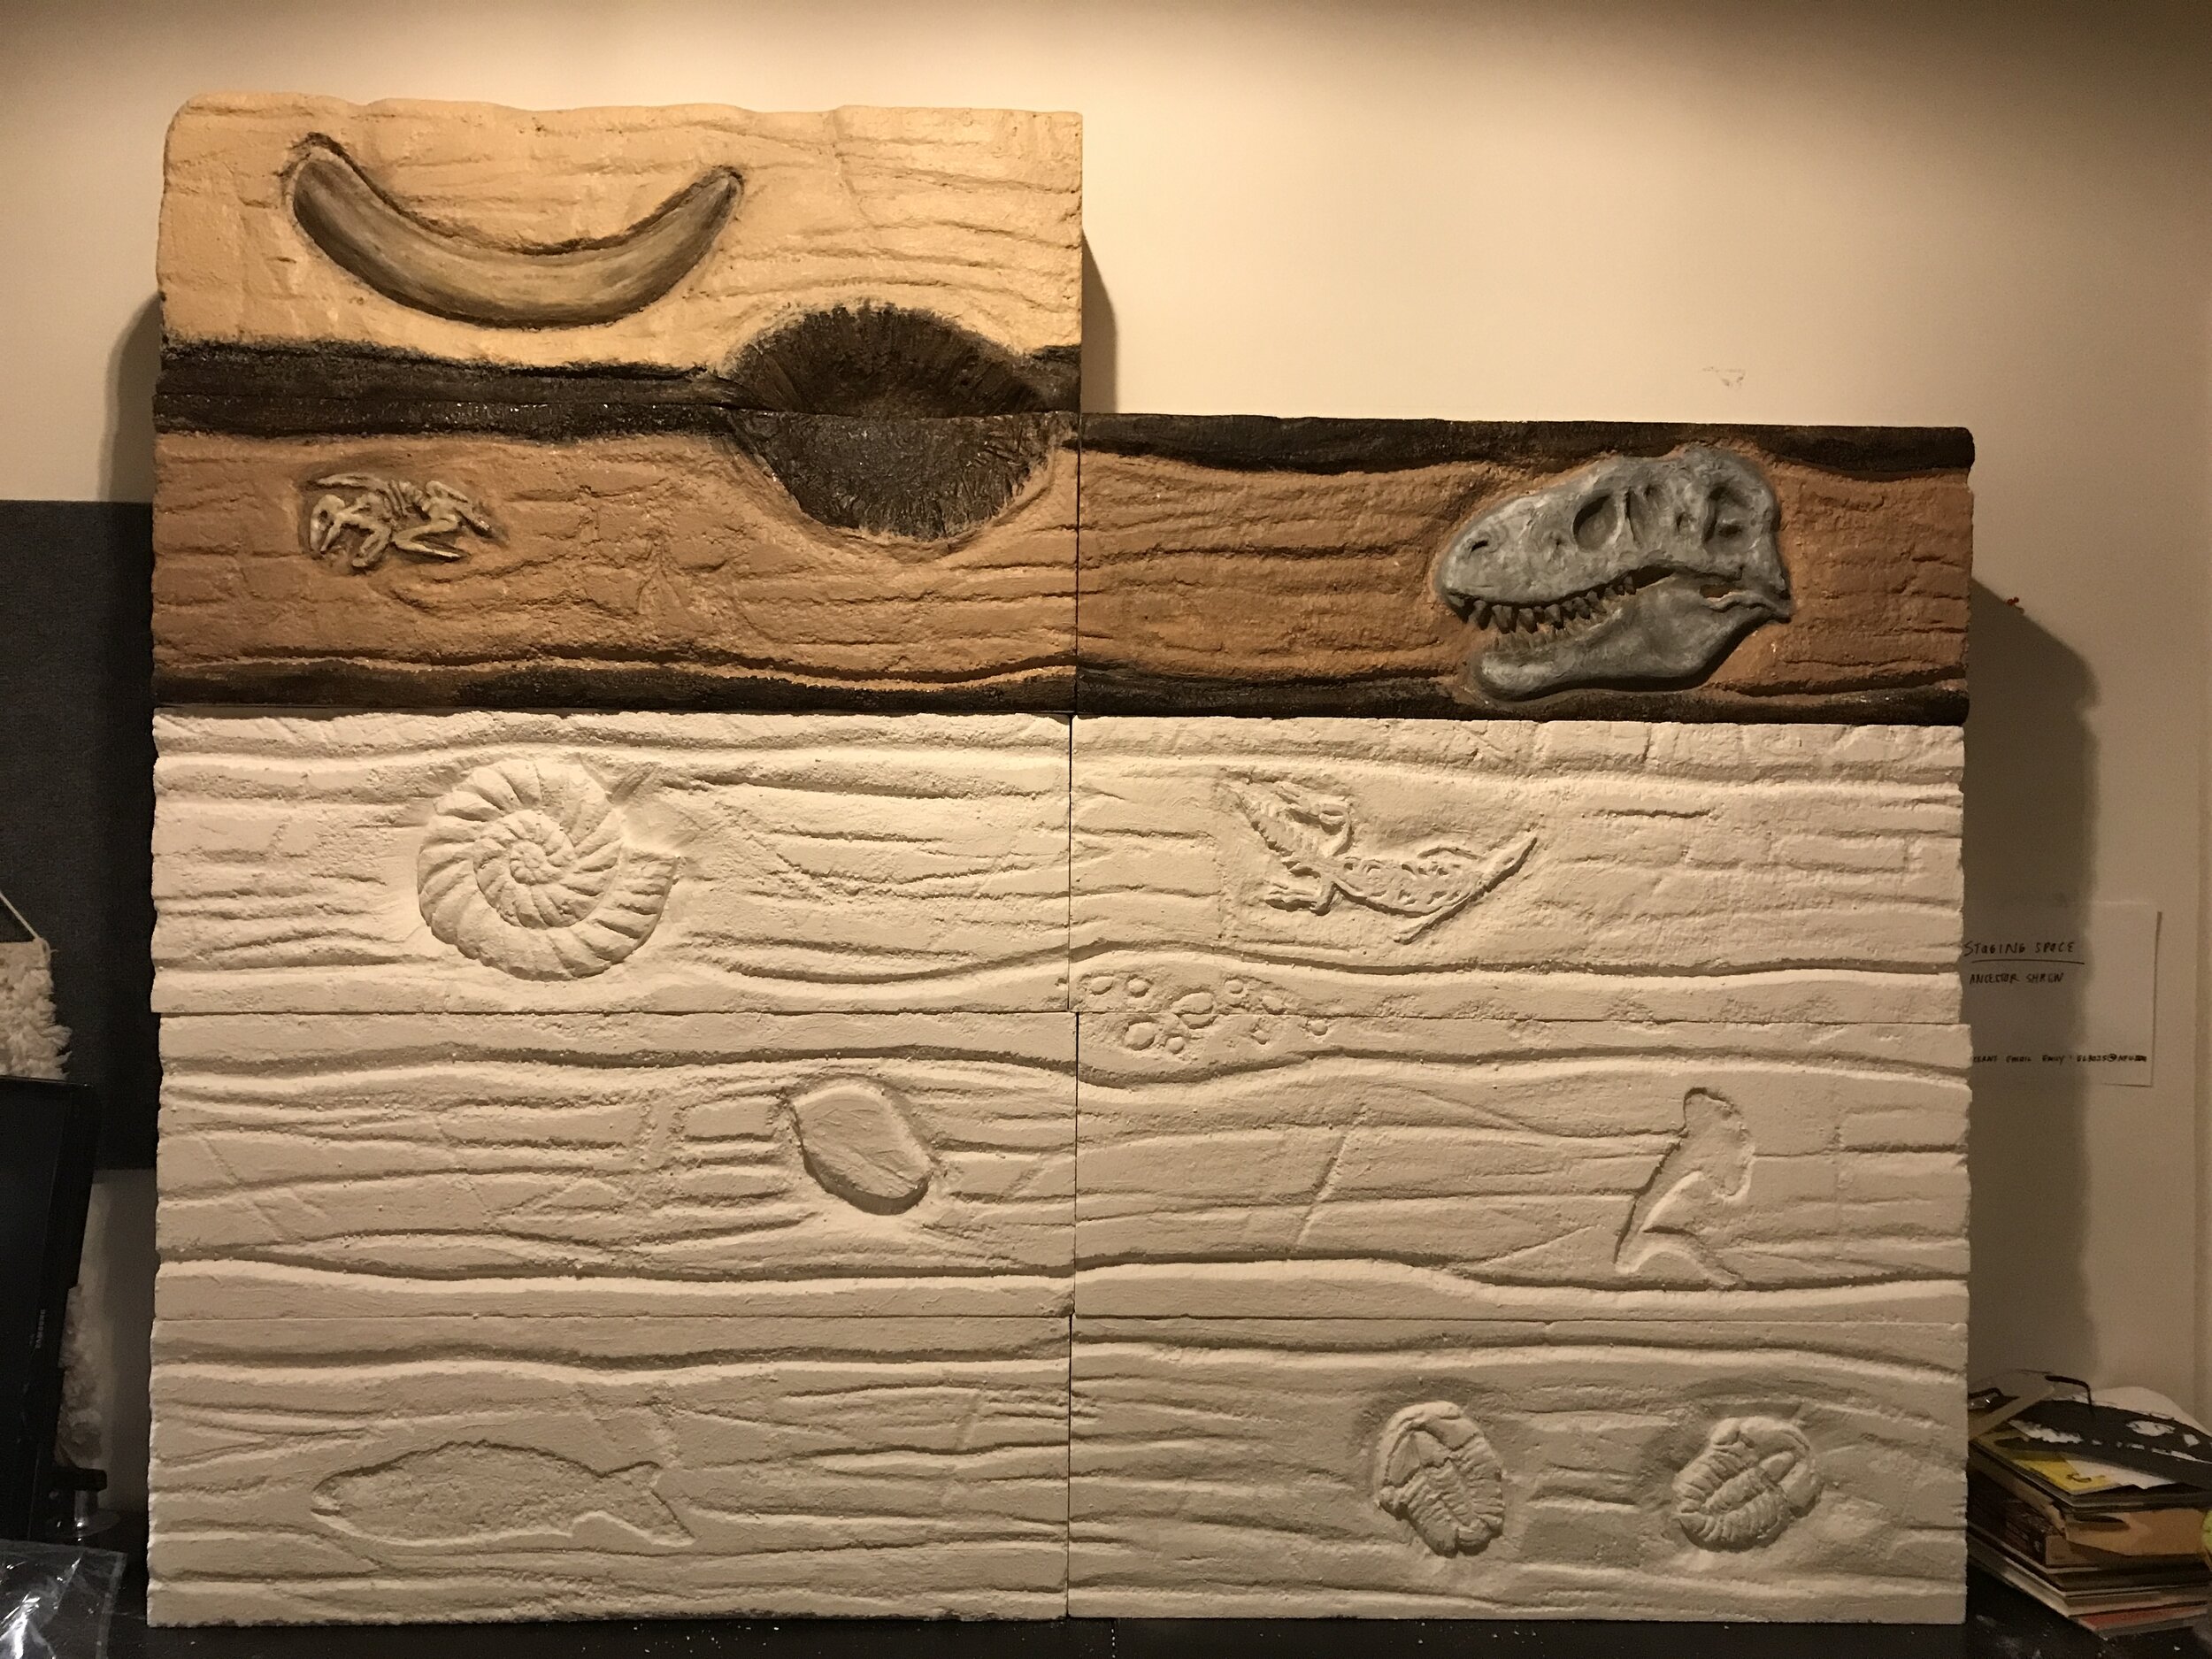
After carving, the wall was coated. Once dried the pieces could be gessoed and then finally painted. We wanted the wall to feel realistic to the touch but decided on a more whimsical color scheme. The colors are based on real rock colors like clay and sandstone, but making them bold allowed the layers to feel more distinctive and catch the eye.